Millhouse Manastorm
1. Make gnome base mesh and shoes in Zbrush
2. Retopologize base mesh and shoes in Maya
3. Sow together robe(s) in Marvelous Designer
4. Retopologize and UV-map robe(s) in Maya
5. Refine, as well as add details to robe(s) and shoes in Zbrush
6. Texture everything in Substance Painter
7. Sculpt details on base mesh (mostly face and hands) in Zbrush
8. Add hair, beard and eyebrows in Maya (using X-gen)
9. Rig, pose and animate character (other subject - Character Animation 2)
10. Simulate robe on posed character
12. Possibly also simulate robe on animated character
13. Light scene
14. Render


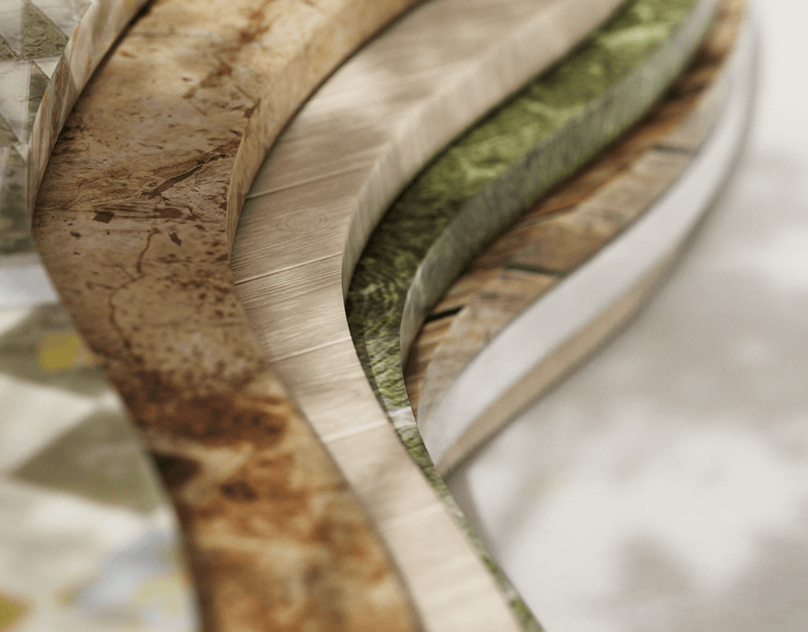
Robe pattern to start with before experimenting with making additional pieces


Quickly sculpted beard, eyebrows and hair as a placeholder better overview


Retoplogy


Update: First milestones complete (week 4)

Updated face topology: lips, eyelids and ears.

Updated hand topology for better deformation and detail.

Eyes in two parts: inner- and outer eyeballs (also textured).
Mouth cavity with separate teeth and tongue.

Modeled shoes in Maya using hard surface principles
(fencing for preserving hard edges).

Full character is UV mapped over 6 tiles.
Hands, shoes, neck and head has the same texel density, whereas legs and torso are slightly smaller as this won't be seen under the robe in the end.
Face seams are sown with final beard in mind.

Character is almost fully rigged, (everything but the face which is under working progress).
The animated character will be used for practicing cloth simulation in Marvelous Designer at a later stage.


Next step will be bringing the character into marvelous designer to create the robe. This will take a lot of tutorials as well as trial and error. Starting next week!

Robe sown together in Marvelous Designer and simulated on character in T-pose.

Patterns exported out of Marvelous Designer as a triangulated mesh.
Retopologized in Maya as shown on right side.

UV maps transferred to the new mesh using the transfer attributes tool.

Quadrated patterns transferred to the triangulated 3D model exported from Marvelous Designer.
Quadrated robe is split into two separate meshes and extruded + merged for a water tight, thick robe with good topology.

I managed to simulate the triangaulated robe in MD after making some minor changes to the patterns and sowing, and playing around with the simulation property settings.
I got the simulated mesh from MD to Maya as a cashe OBJ.
I split it in three parts (inner robe, outer robe and belt)
I then combined the two outer robes using wrap-deform.
Thankfully it works so hopefully I'm on the right track!
(see playblast)
(see playblast)
However, the result is not perfect...
As I changed the triangulated robe in MD the two robes does not match exactly in the beginning. I will have to refine and match the quadrated robe again (lesson learned).
I will also have to refine the deformation further using blend shapes so that no sssneaky backfaces show through.

Once the simulated robe is done I have decided to move on to XGen as my next step for this project.
I originally planned on doing texturing now but nice I'm already quite comfortable with that I will save it for later.
The ambition is to create close to realistic hair, eyebrows, stache and beard, and possibly practice simulating this too!


I was finally able to come up with hair I'm quite happy with and made a quick render to showcase the results.
I chose to go with the original XGen tool after reading that it's more versatile and more commonly used in studios.
As this is my first groom it is extremely basic.
I'm using six 'scalps' (separate meshes), head, eyebrows, beard, mustache and lower + upper eyelids. I only got a few guides, maps and modifiers for each piece.
I'm using six 'scalps' (separate meshes), head, eyebrows, beard, mustache and lower + upper eyelids. I only got a few guides, maps and modifiers for each piece.
Although I only explored the very basics of XGen I'm starting to realize what makes it so powerful and I would love to explore this tool further.

I was finally able to get my thick retopologized robe to deform perfect over the simulated robe. I split the robe in into four parts and used a wrap deformer for each part in combination with a few blend shapes for finer adjustment.
Unfortunately I couldn't get the hair to simulate nicely.
All the hair seem to put my computer under a lot of stress, even though it's all baked to XPD and the animations are cashed. However, I couldn't get XGen to reference my cashed hair system curves for some reason.
Trying to get the settings right for the hair system and solver like this turned into a nightmare, particularly for the hair on his head as it's kind of an unnatural haircut he got.
I tried making a playblast - simulating the hair system live over night to showcase the terrible results, but my computer literally overheated halfway through.
I'm obviously doing something wrong and I will look into this again in the future. I will also make some textures and hopefully end up with a nice portfolio piece in the end!