Exploring Upholstery: From the Basics to the Extreme, Wintersession 2017, Instructor: Nathaniel Smith
My Red Chair
A chair built from scratch, utilizing traditional and modern upholstery techniques.

Prompt | Timeline: 2 Weeks
Design and create an upholstered easy-chair or piece of upholstered furniture of that scale.
Process
For this project, I was interested in creating a chair from scratch. This meant I would need to build my own frame for which to upholster.
I first began by looking at my favorite chair at home, which was a large leather sofa with a relatively spacious seat. Next, I gathered inspiration from sources around me, one of which was an illustration of a settee-style chair from David James' book, Upholstery Techniques & Projects.


I decided to design a relatively simple chair that had a deep seat. I wanted the main detail of the chair to be its arms, where the rounded section would travel continuously around the chair. Below are some of my initial sketches of the chair. These helped me understand what my chair's aesthetic would be, as well as the construction of my frame and ultimate chair dimensions.


I began by constructing the base of my frame. I decided to change the seat so that it would taper outwards, providing more space for the user. As the seat would be relatively deep, the chair would also encompass the user, adding further to the idea of comfort.


The back was angled at 110 degrees from the seat. Initially, all four legs of the chair were perpendicular to the ground. However, I decided to change the leg angle to coincide with that of the back. This provides more stability for the chair and generates a more dynamic aesthetic.
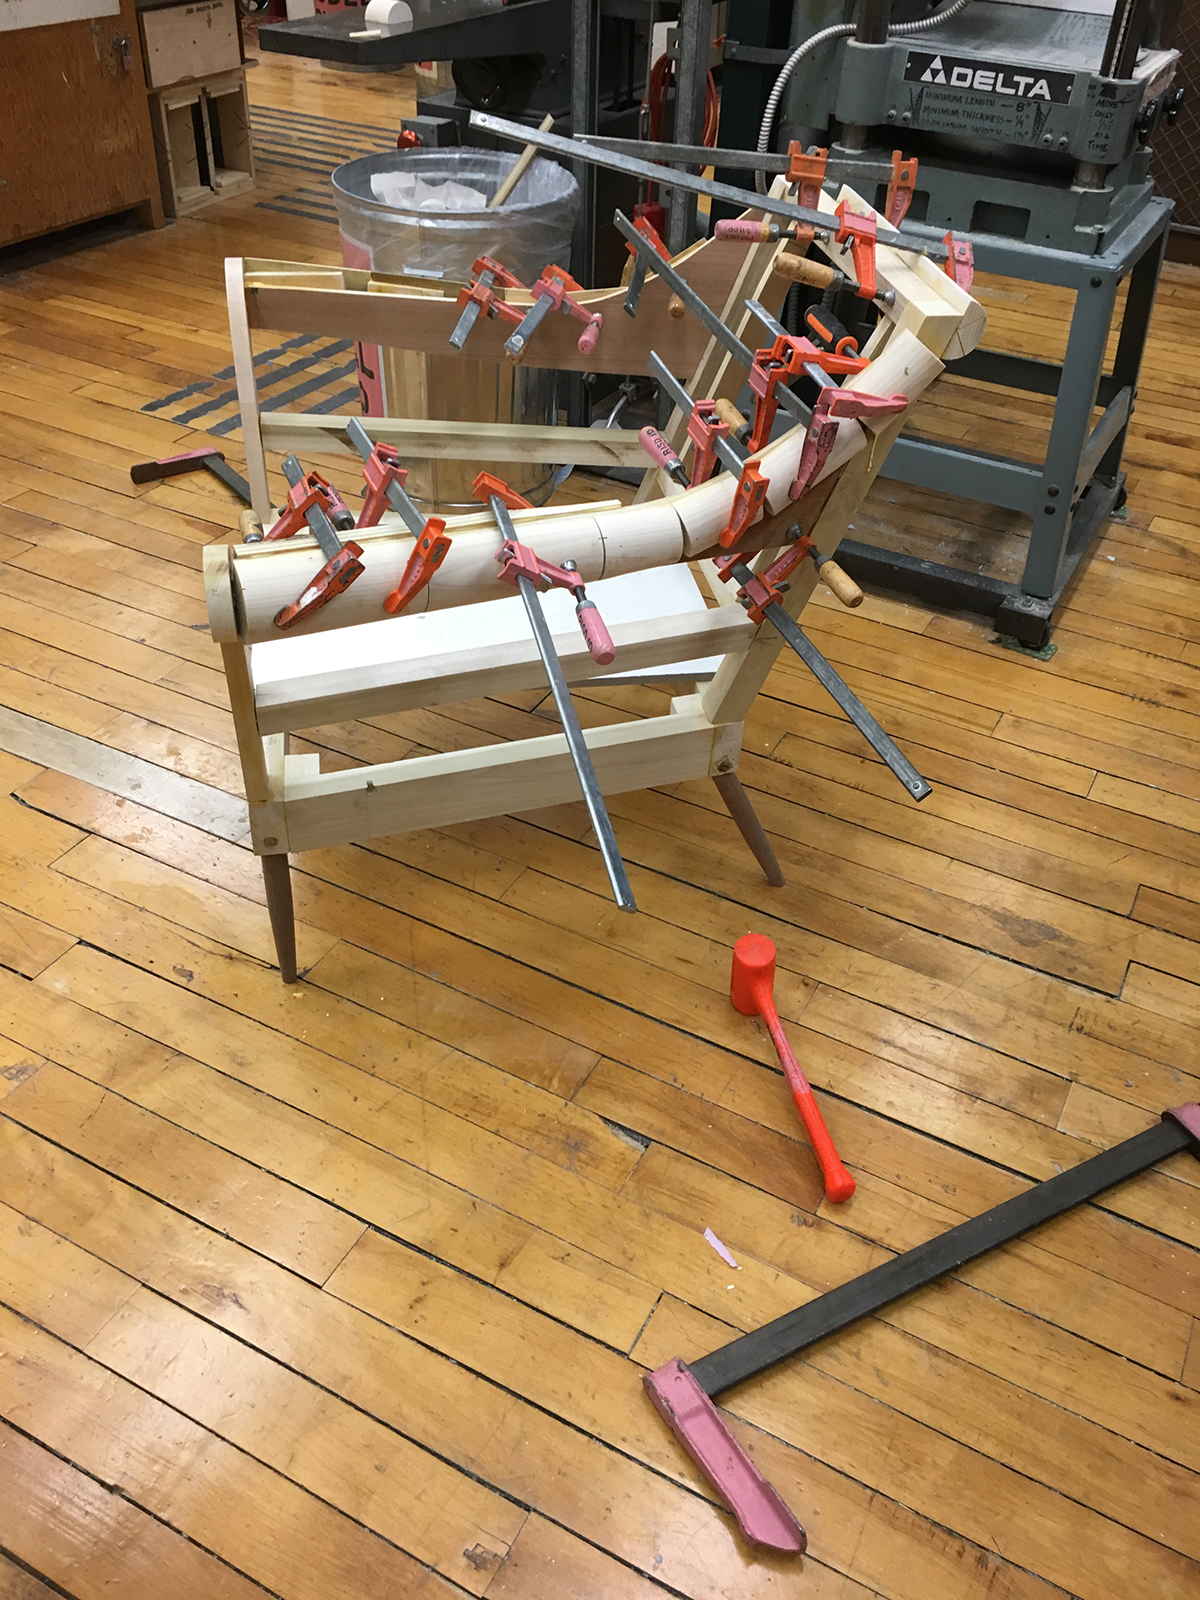
Corner blocks and dowel pins were put in place to guarantee the strength of the frame. The majority of pieces were connected using biscuits.
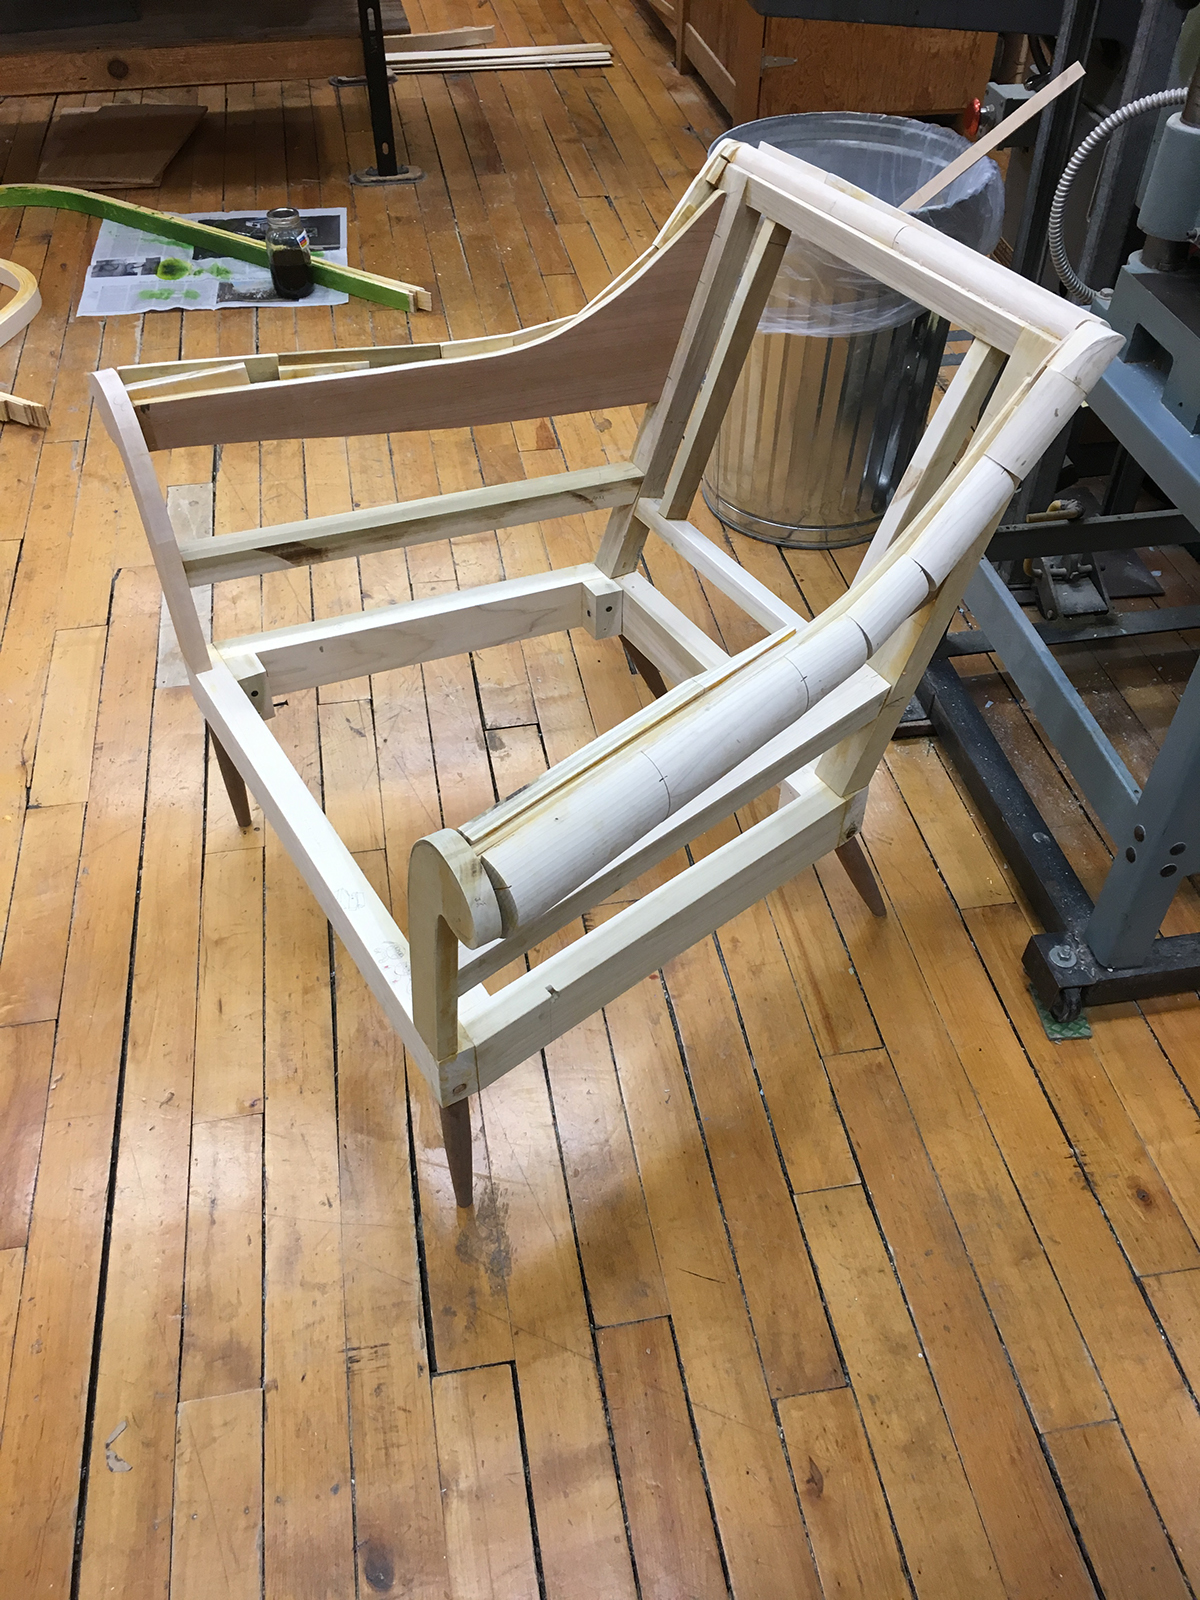
Next, I began webbing my frame. To help create a smooth surface for which to upholster over the arms, I used scrap pieces of wood to round out the uneven parts of my frame. I then covered the arms with a wool-like material.


In considering the different methods for upholstering the seat, I decided to opt for a traditional eight-way-tie approach. I chose to have springs as they would allow for a more comfortable and durable seat.


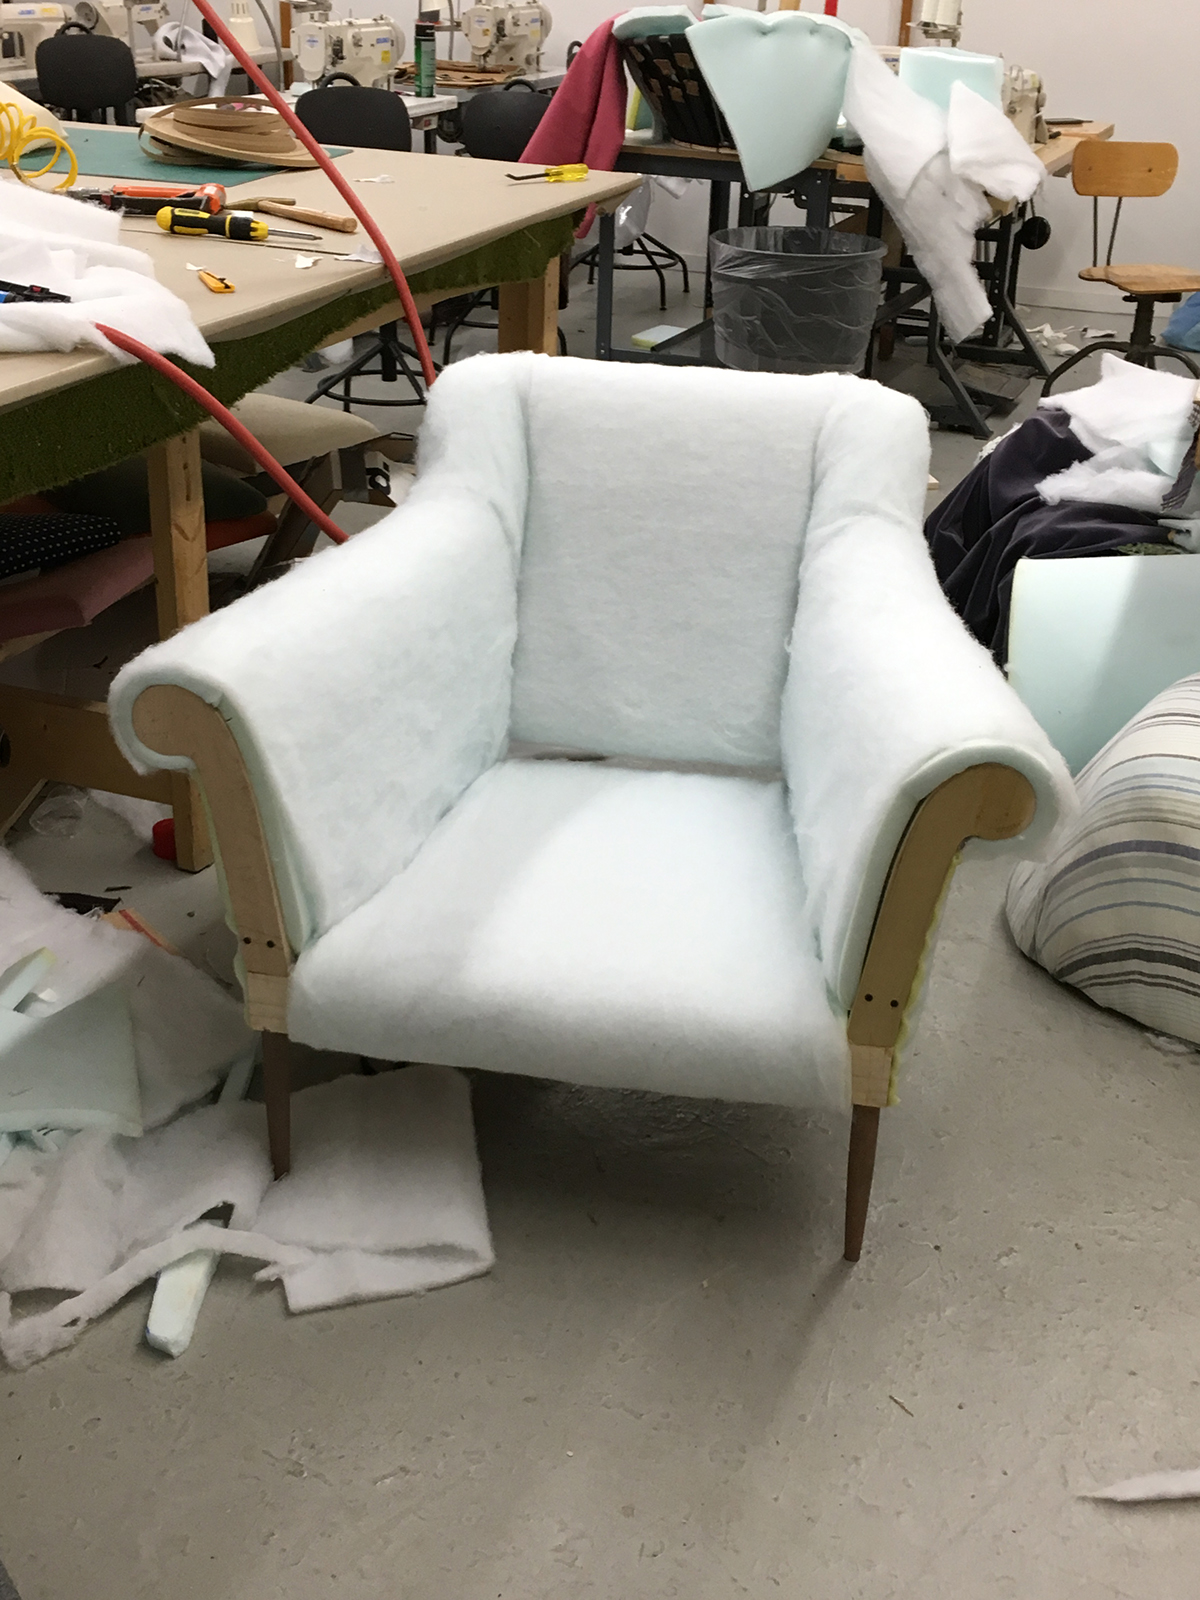
Next, I began to cover my chair in foam. On the seat and arms I used 26-45 1" foam, and on the back, I used 26-27 1" foam. Before putting foam on the seat, I first covered it in a layer of burlap.


Next, I put a layer of microfiber over the foam parts.
After this, I began to create sewing patterns for my final upholstery and fabric underlayer.


To make sure I had created the right pattern, I quickly sewed a test fabric overlay which checked out. I then proceeded to my final upholstery.


The side panels and back panels of fabric were first stapled at the base of the arm then brought over another layer of microfiber. This created clean edges and a slightly padded surface.

For the front pieces, I cut out cardboard shapes, to which tacking strips, microfiber, the final fabric and welt were attached to. These parts were then adhered to the front of the arms.

I also created a separate seat cushion to add further height to the seat. The cushion was sealed off using a hidden stitch.


