19th Century English Bookbinding Model
Made during the 2015 Historic Book Structures for Conservators workshop, which was taught by Jeffrey Peachey at the Winterthur Museum conservation studios. This style of binding was commonly found in the19th century, especially in England where the Industrial Revolution allowed book binderies to increase their speed of production with new machinery. Unfortunately, this industrialization of the craft meant that lower quality materials were used, and several structural shortcuts were taken. Today, these books frequently suffer from brittle, yellowing paper, powdery "red rotted" leather, detached boards and broken spines. They are still very common in libraries however, and are easily recognized by their "half leather" bindings, brightly colored, glossy marbled papers and colorful silk endbands.


The Making of the Model:
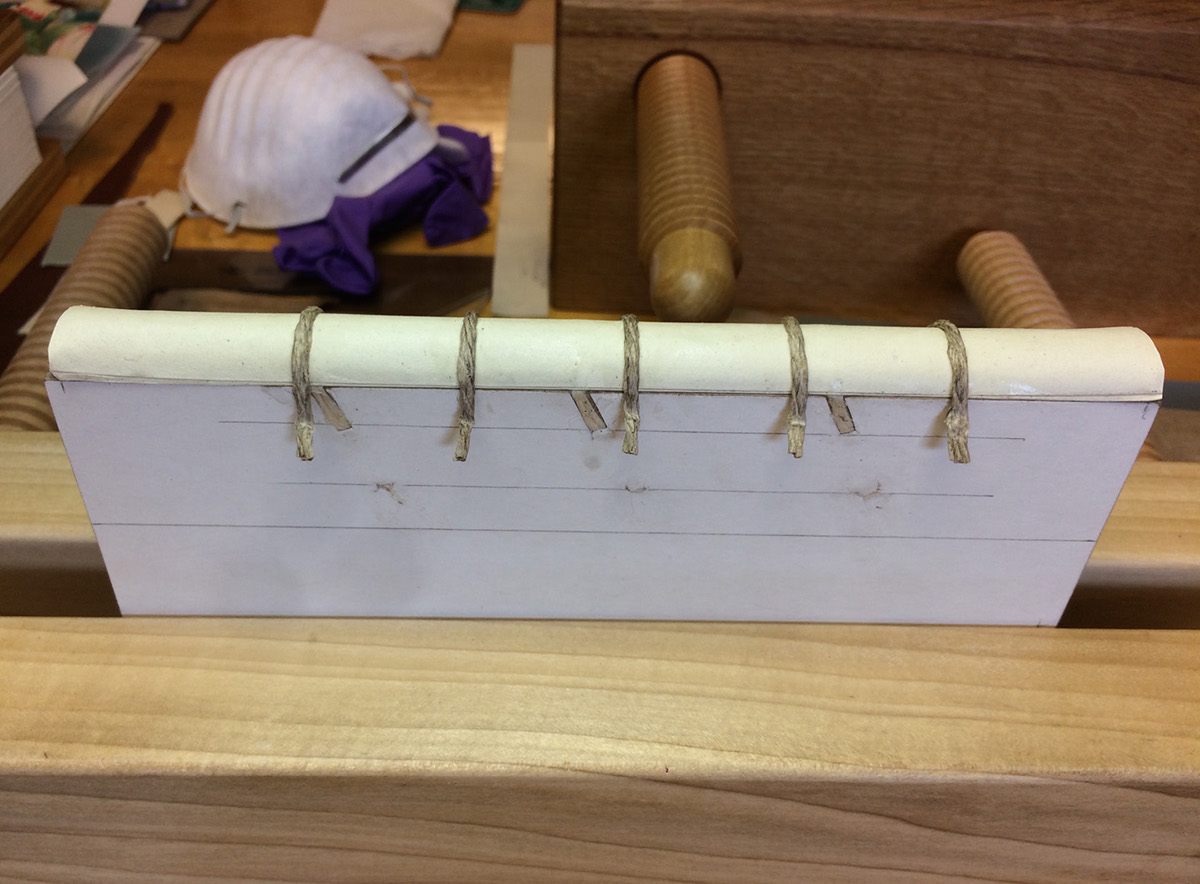
In the 19th century, these folded paper quires would have been compressed in a machine, between two rolling steel drums. The text-block would then be sawn-in at the spine (with an actual saw) which leaves deep grooves at each fold, as seen below:

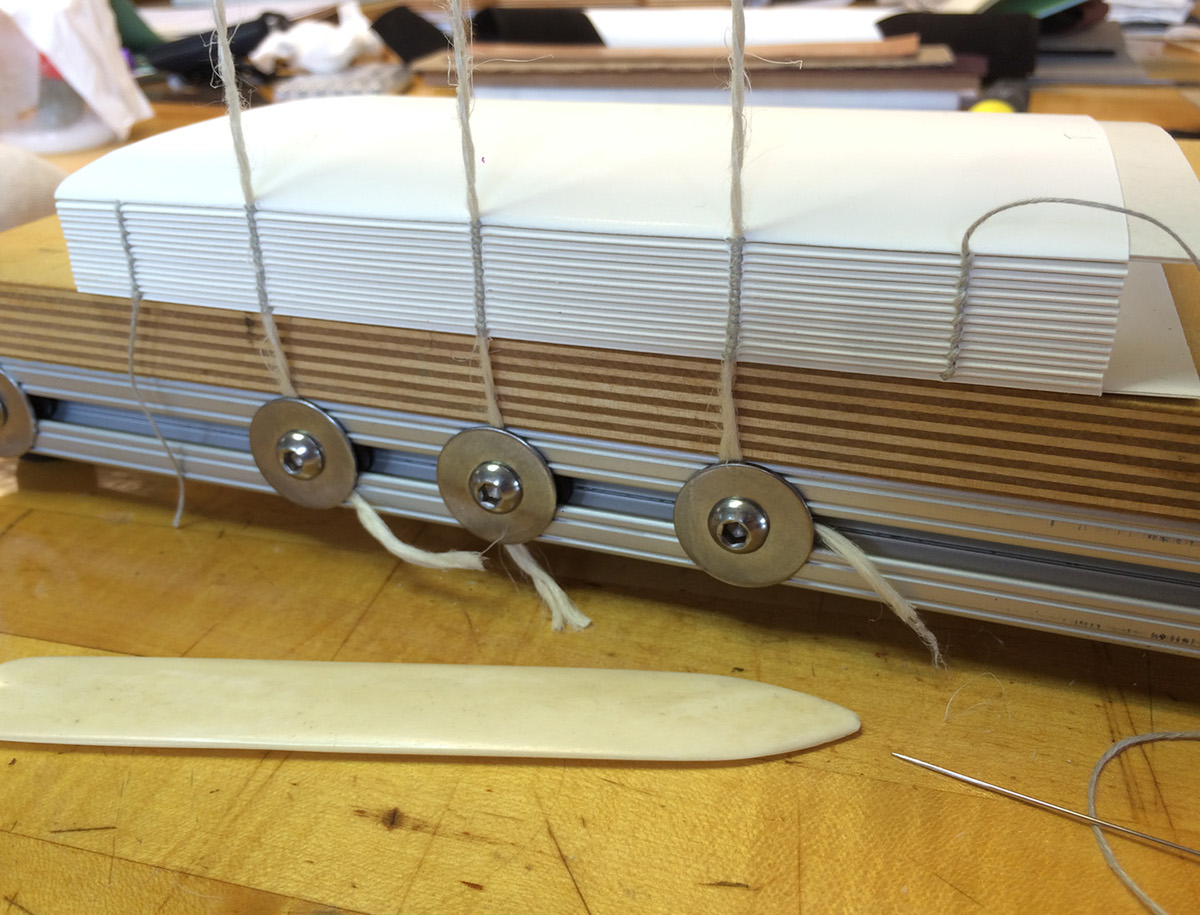
The book is sewn together in a sewing frame, such as this Peachey Nokey frame. The grooves of each folded quire fit snugly around the vertical sewing supports, and the book would have been sewn "two-on," to save time and materials. After all sections of the book are sewn together, the spine is rounded, backed and ready for silk endbands.
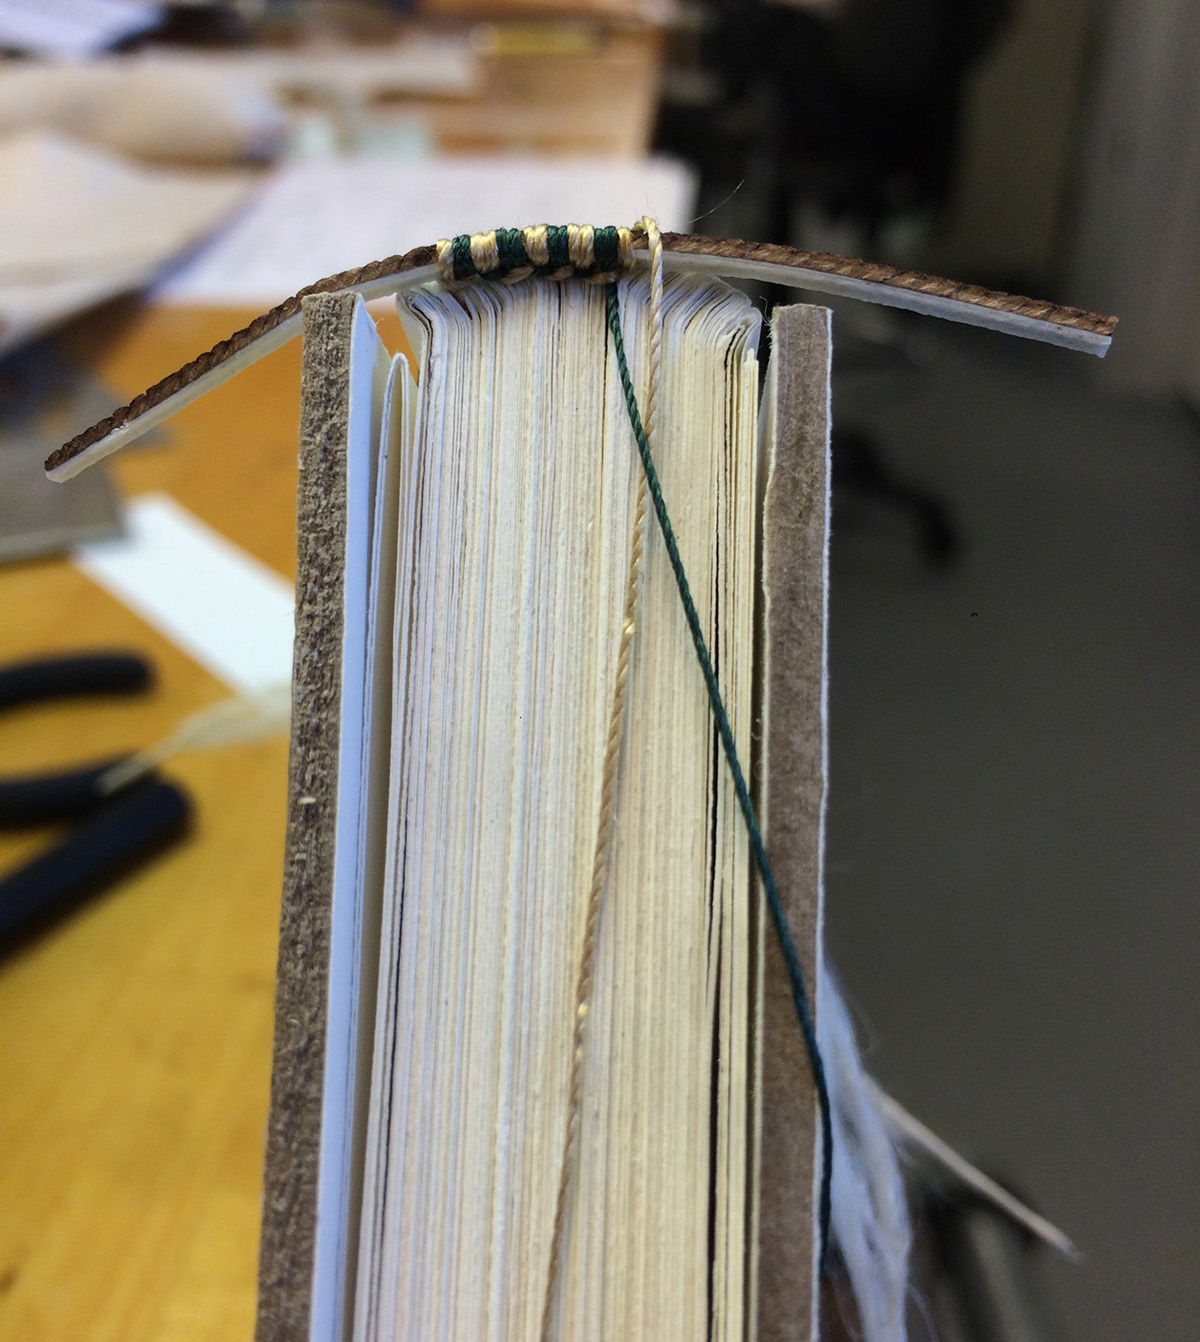
The endbands were sewn around a core of laminated leather and parchment, and the colors of the silk threads were rarely chosen to match the color scheme of the book's marbled papers, which in this case the marbled papers are dusty rose, black and grey.
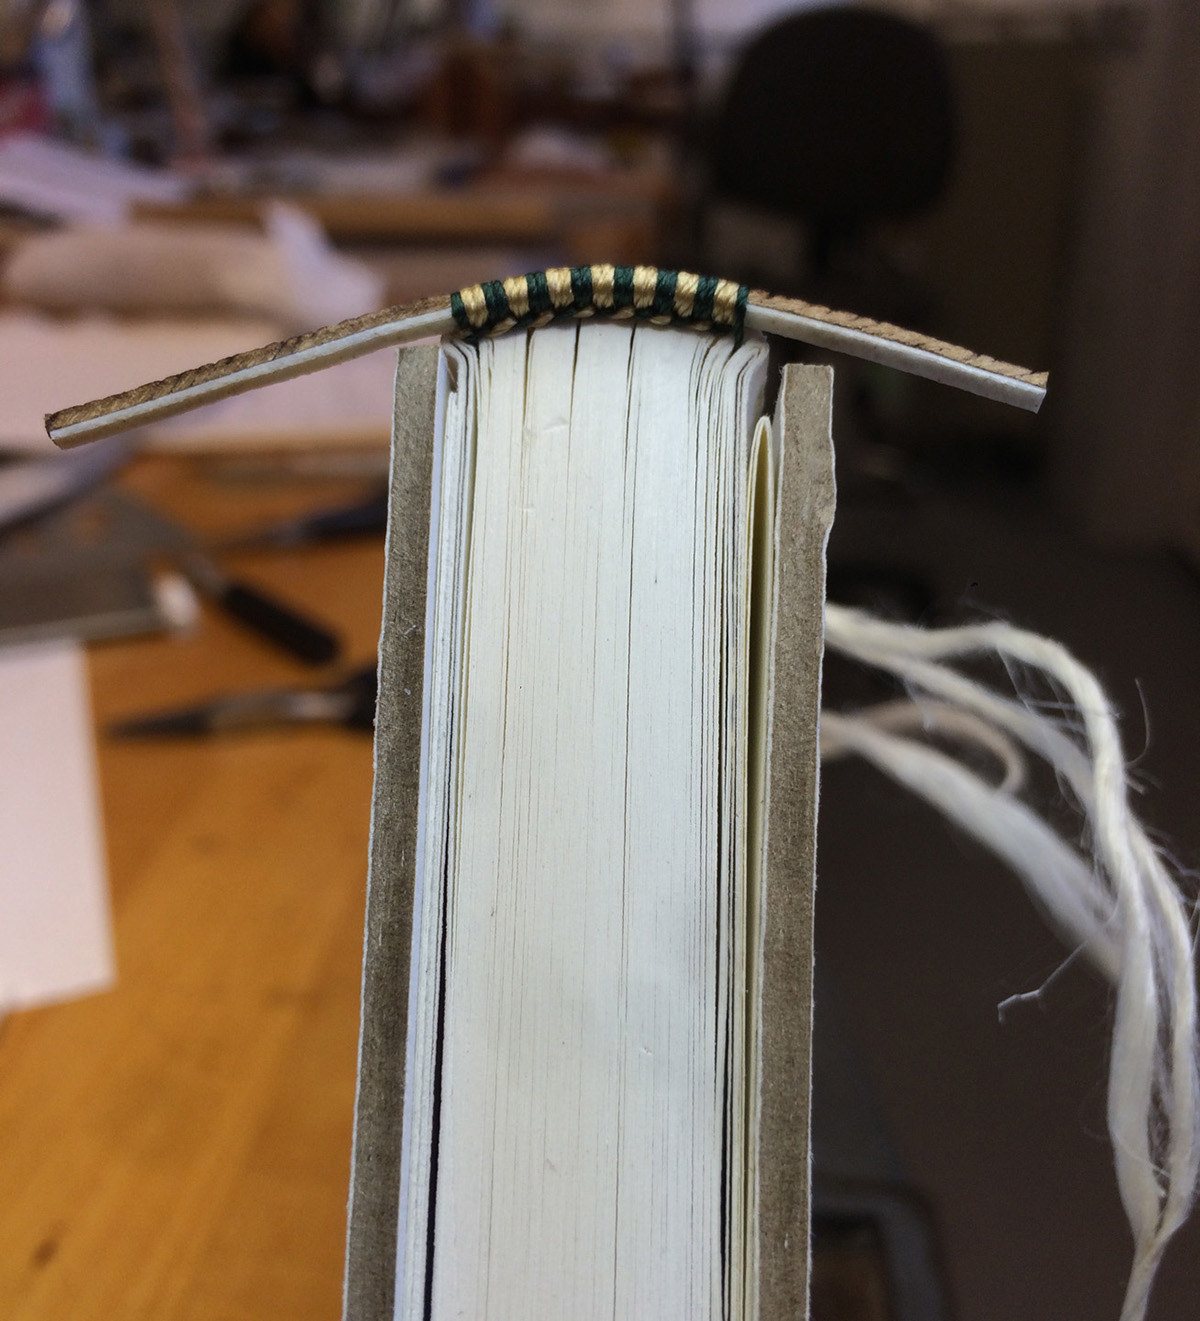
The finished endbands:
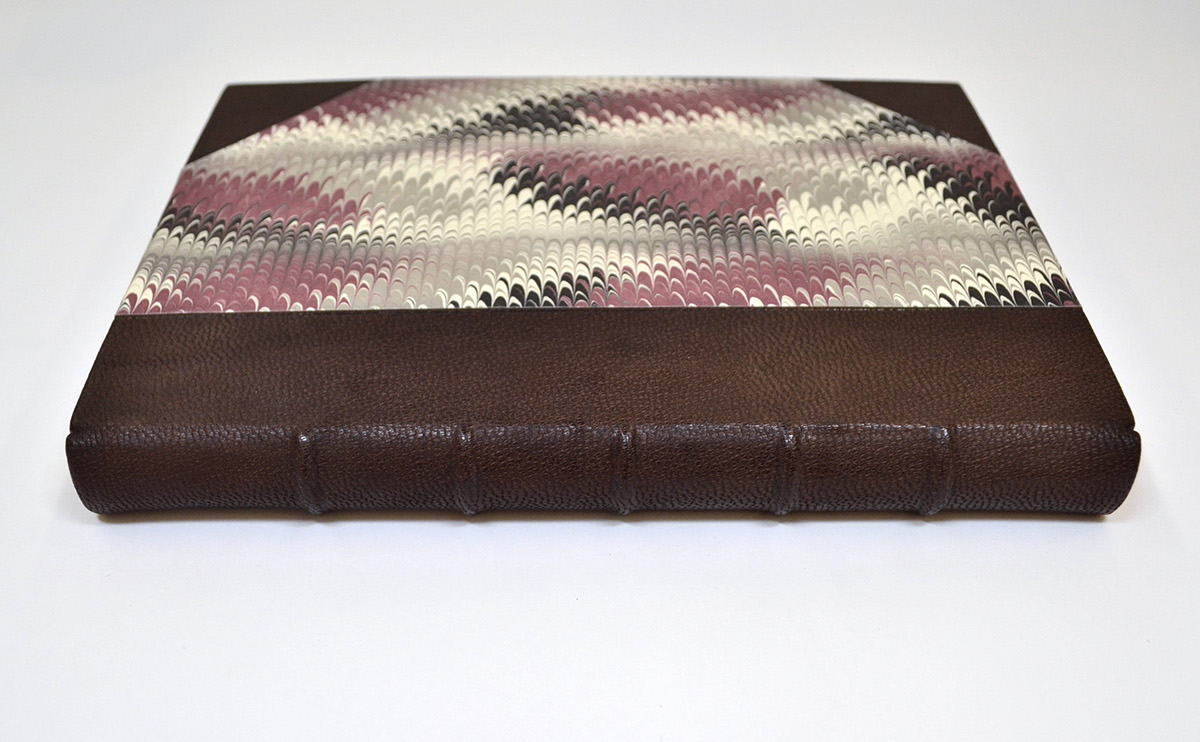
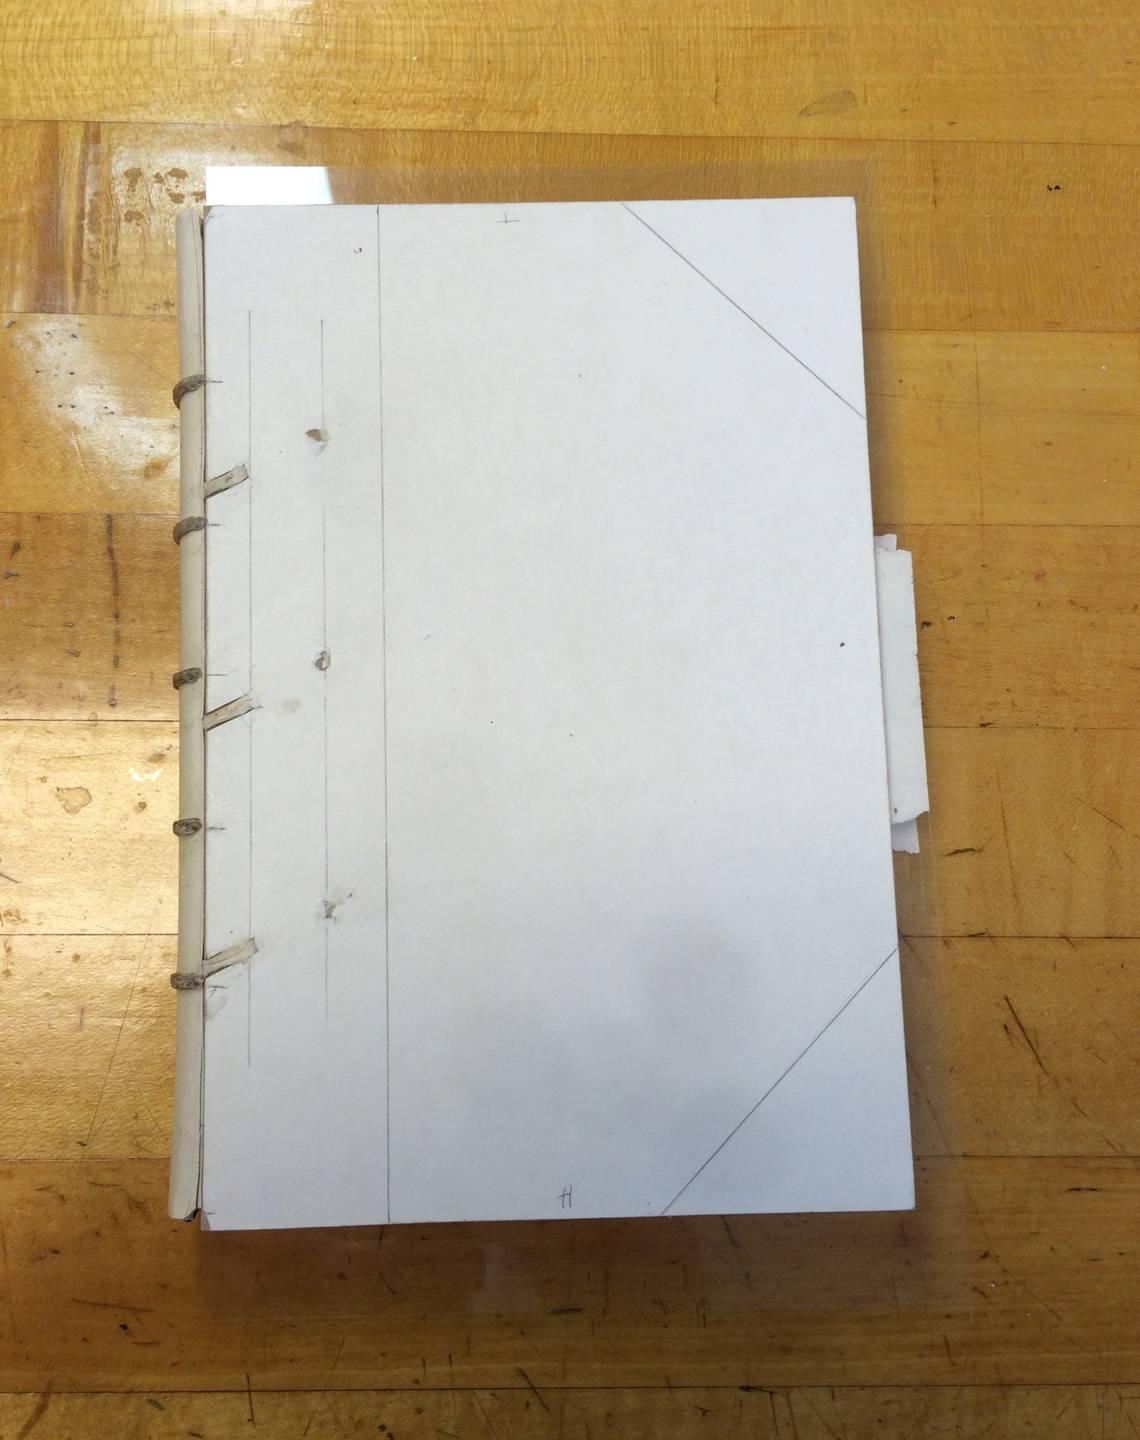
Several steps occurred between the sewing of the endbands and the following image: lacing the boards onto the spine's sewing supports, pasting a hollow tube onto the spine, and the addition of five false raised bands, which give the book's spine a more traditional look. The five false bands are purely decorative and do not serve any structural purpose.
Next, the boards are marked-out in pencil to allow the bookbinder to place the leather spine and corners as precisely as possible. (Note, the three diagonal laced-in cords are not historically accurate, the cords should have been laced-in perpendicular to the spine.)
Below are two leather paring knives which can be used to trim or "pare" the leather to a more appropriate thickness, or to make a beveled edge. Below you can see that it takes a lot of practice, even to make one continuous cut:

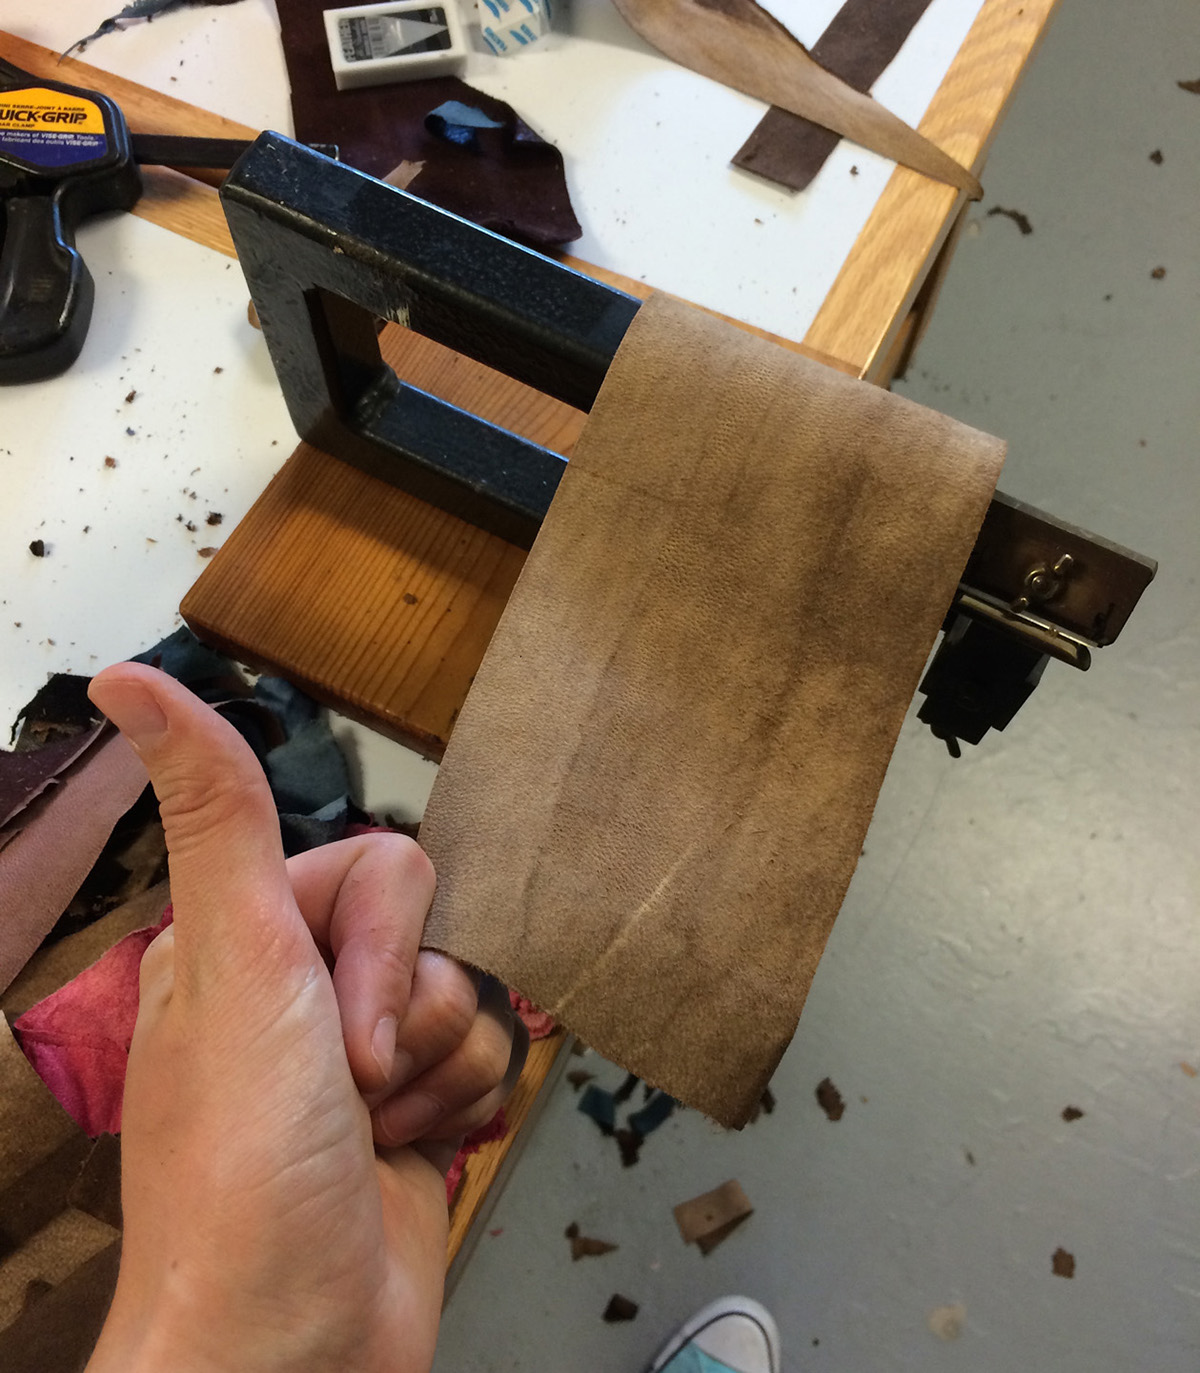
The spine leather for these books must be pared extremely thin, and today this is accomplished with a leather paring machine. This machine holds a razor blade fixed in place, and the leather must be carefully pulled against the blade. It's difficult to pare leather thinly without gouging or tearing it... thumbs up for my third effort!
The leather elements are wetted out, pasted-up and applied to the book's spine and board corners. The vegetable-based dye in the leather bleeds easily, so care must be taken to keep the book's pages clean. Wet leather is also easily nicked or marred at this stage, and so it needs to dry before the next stage.

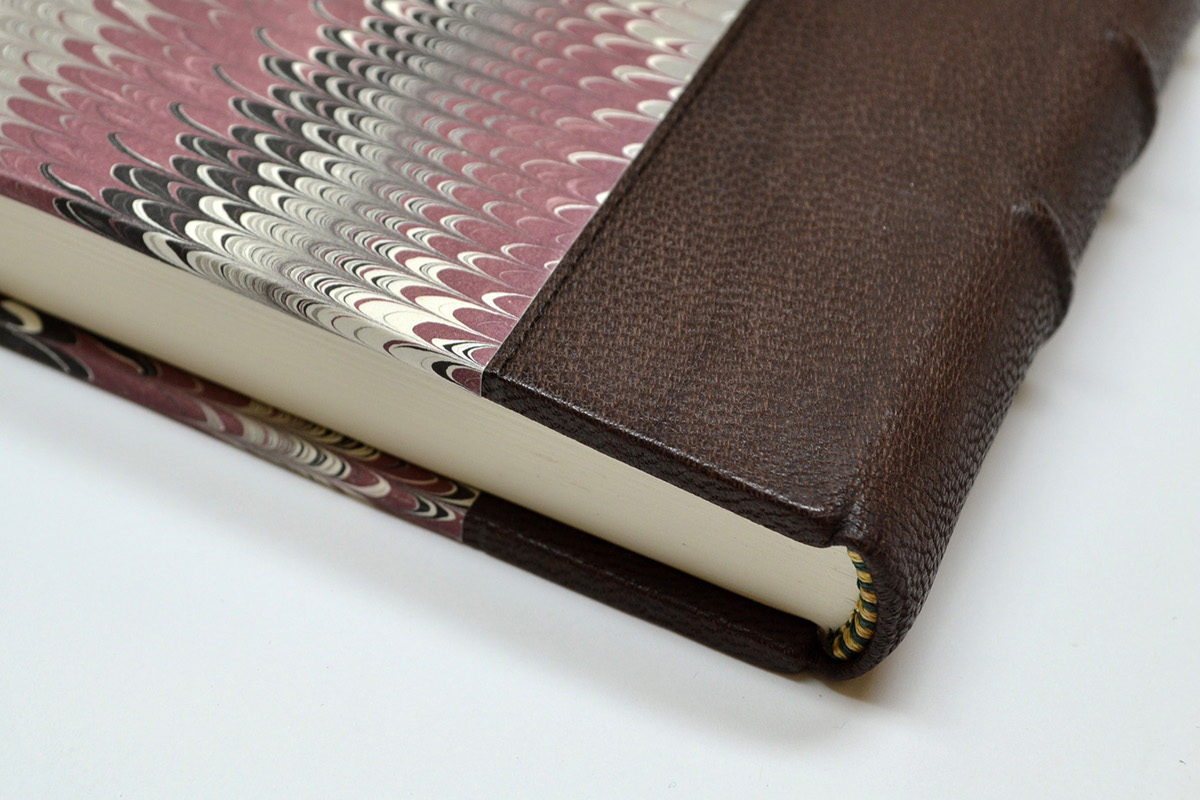
After the leather is dry, the color returns to normal, and the book can be handled safely again. At this stage, the marbled papers are applied to the boards, and this will disguise the uneven edge of the pared leather.

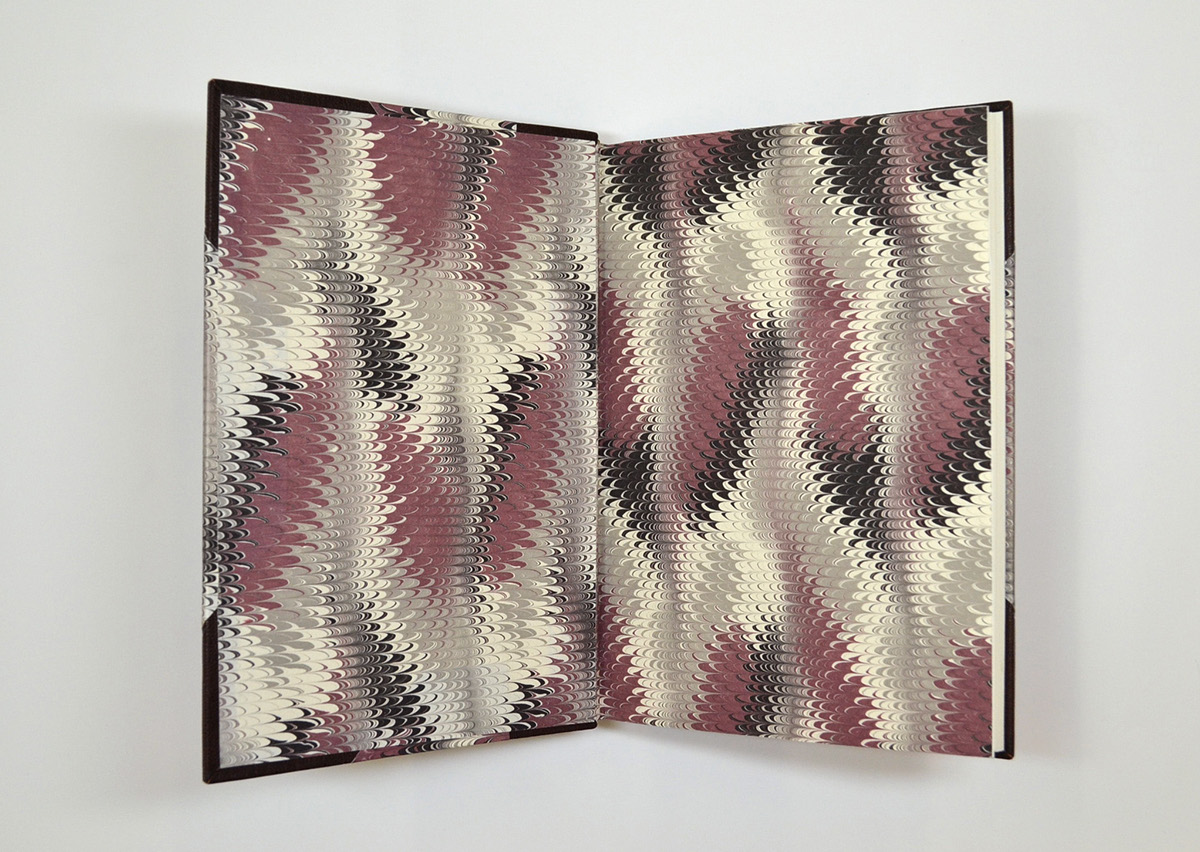
After applying marbled paper to the boards, the "endsheets" are created from pieces of the same marbled paper. One side is pasted onto each hinge and the inside of each board, and the book allowed to dry open.

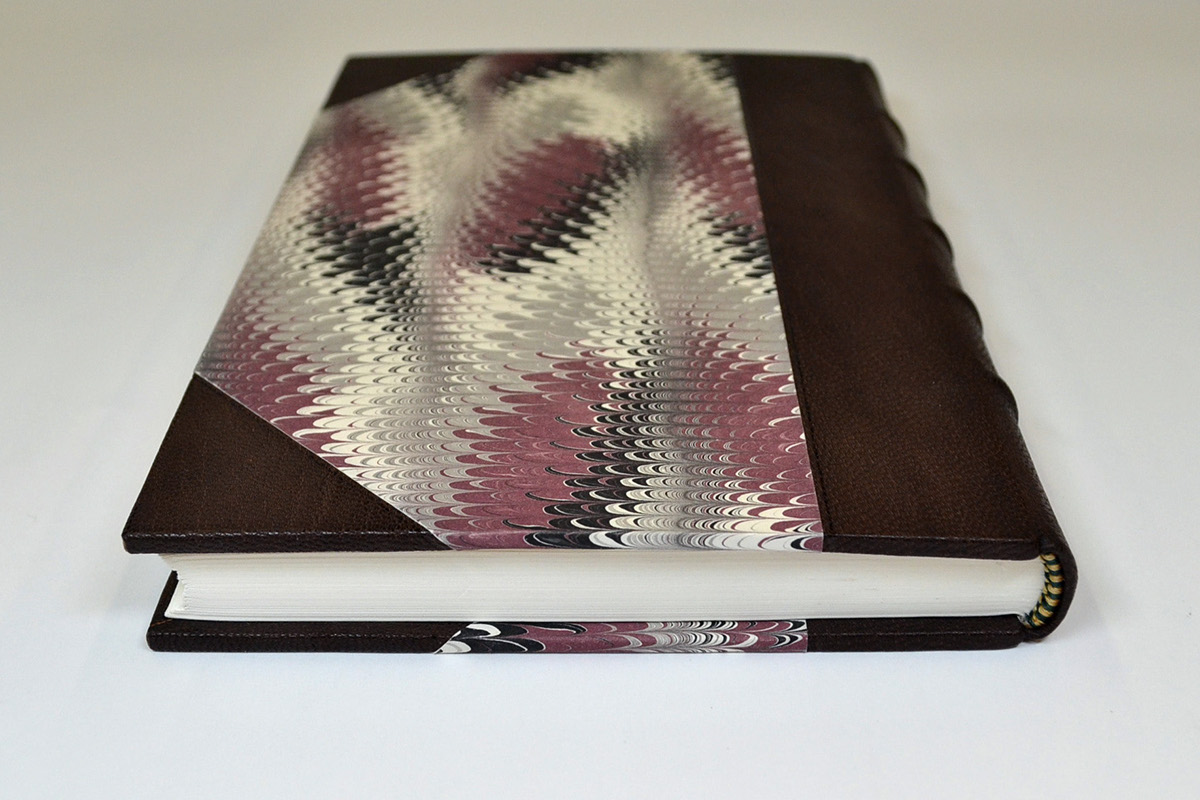
And at last the book is finished!
Many thanks to the Winterthur Museum, Garden & Library and to Jeff Peachey for teaching the Historic Book Structures for Conservators Course of 2015!

