PROCESS
.
.
.
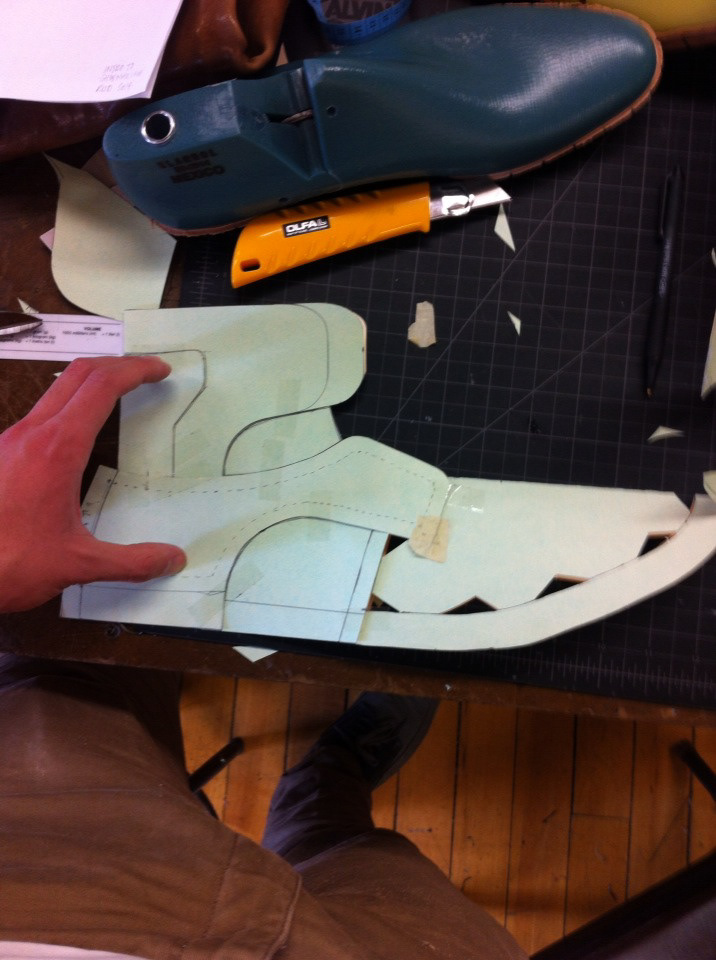
First steps of shoe making is getting the pattern ready.
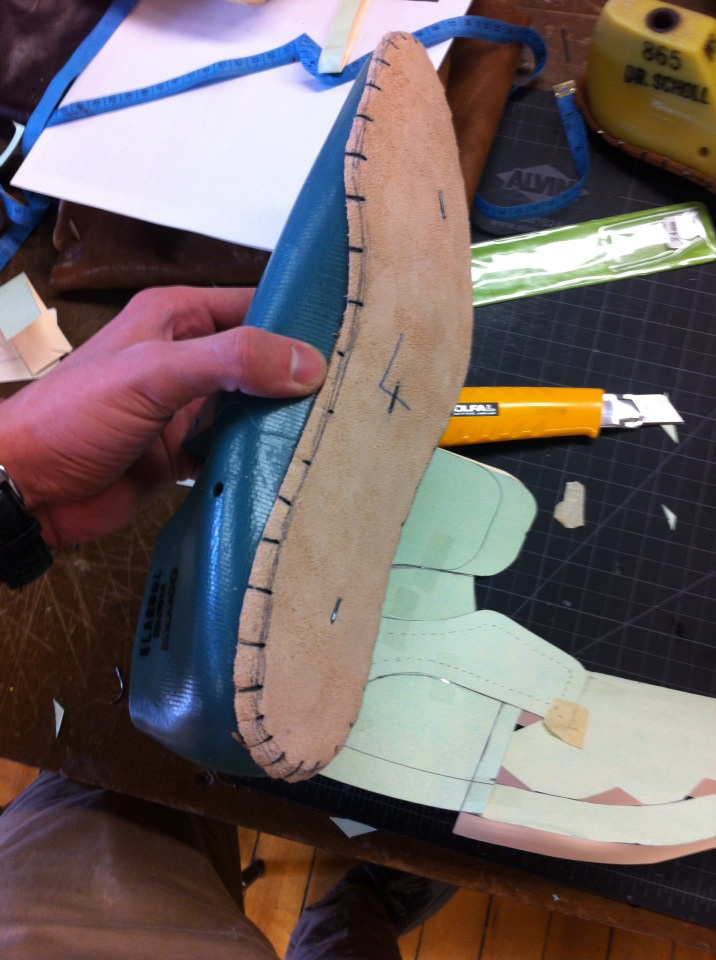
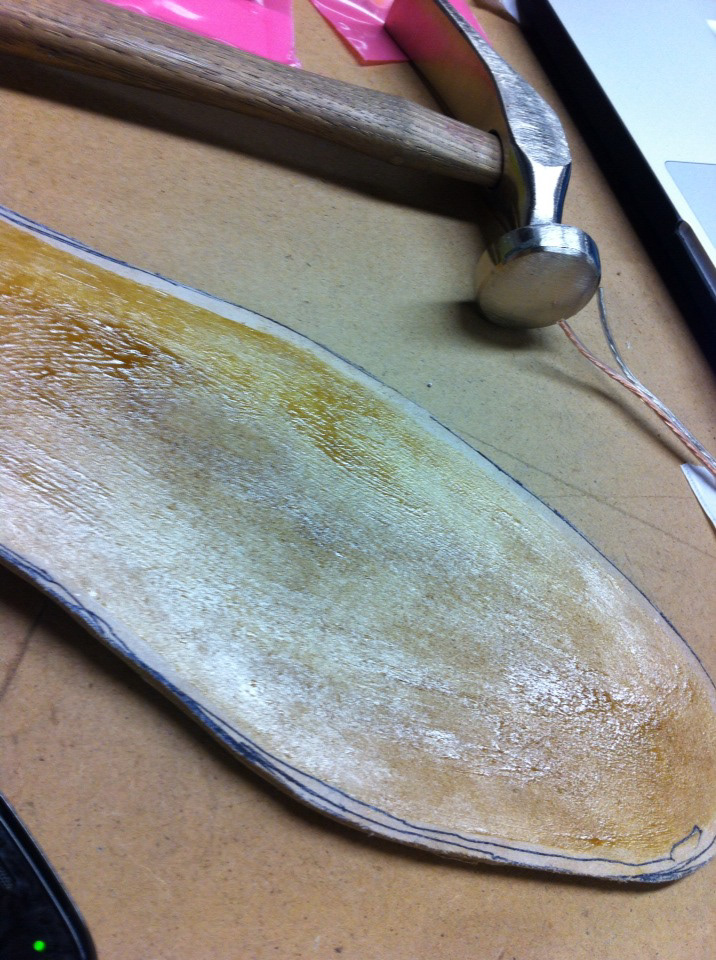
Meanwhile, nailing the inner sole is done. This is done by soaking the leather for 5 minutes in water, than nailing it on the last. The leather takes a couple of days to fully dry and take the form of the last. When this is done, the inner soul is ready to be trimmed.
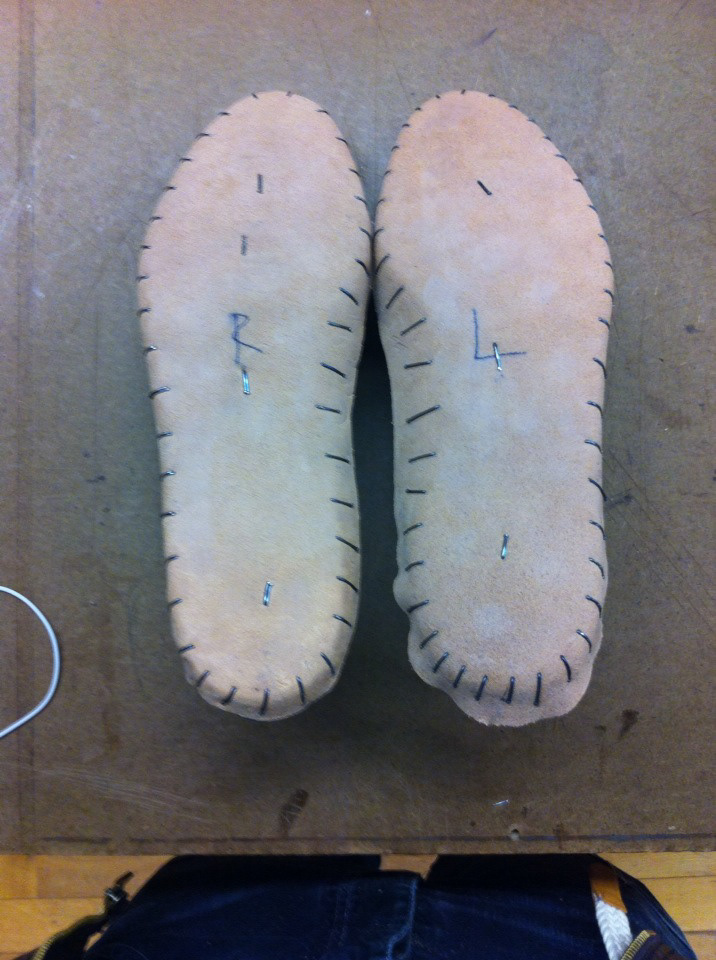
Taking the nails off.
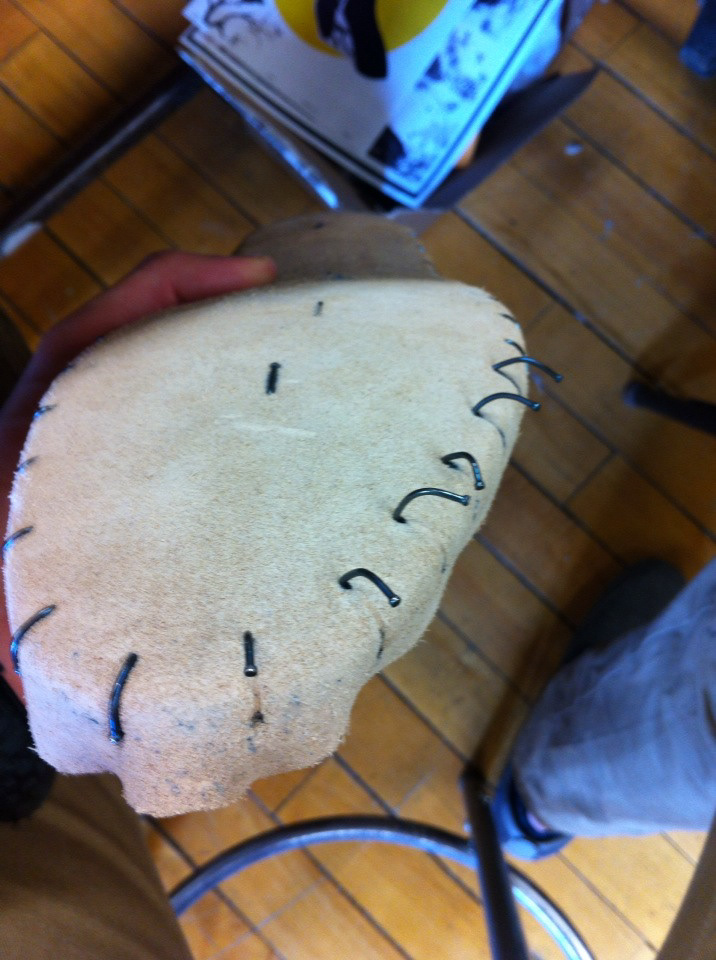
This is how the inner sole looks after it's trimmed.
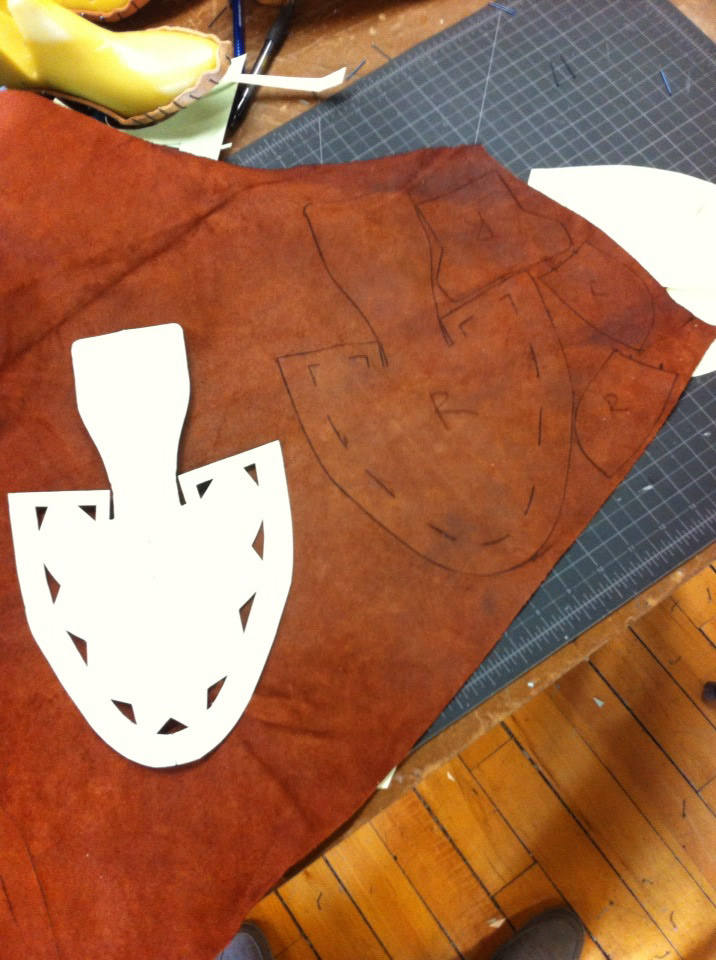
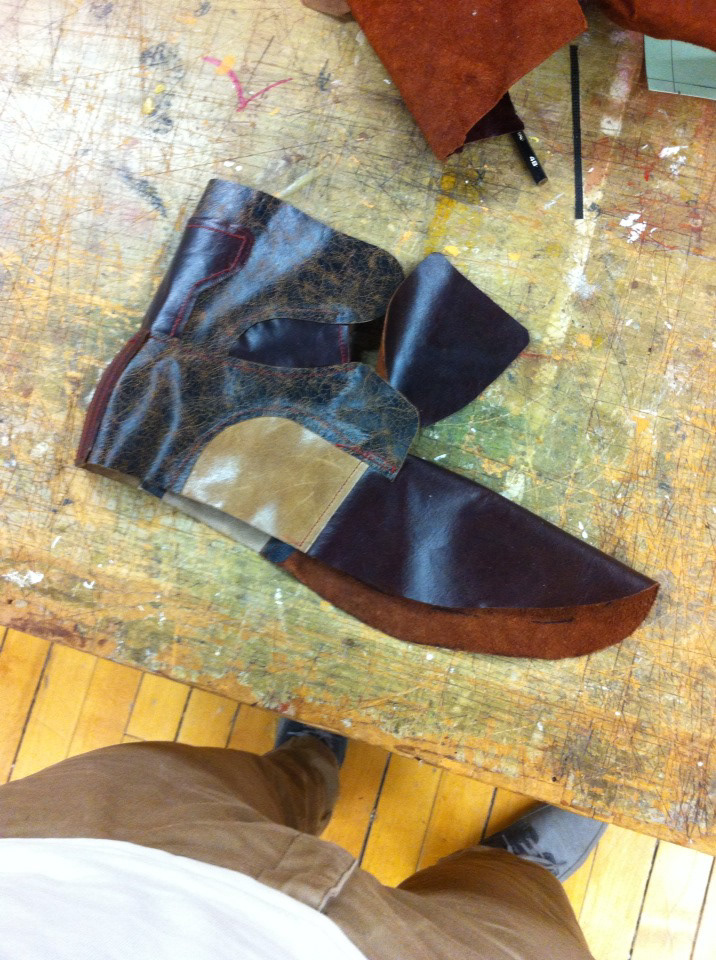
Cutting the patterns is the next step. Choose your leather carefully and wisely.
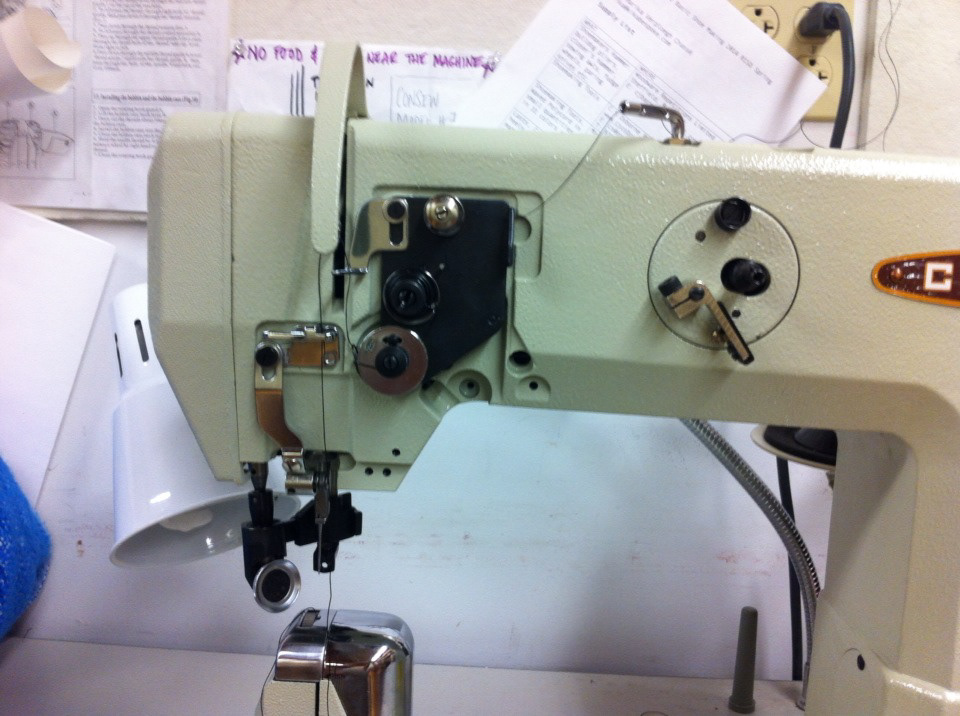
The scariest part for me, the sewing of the pieces.
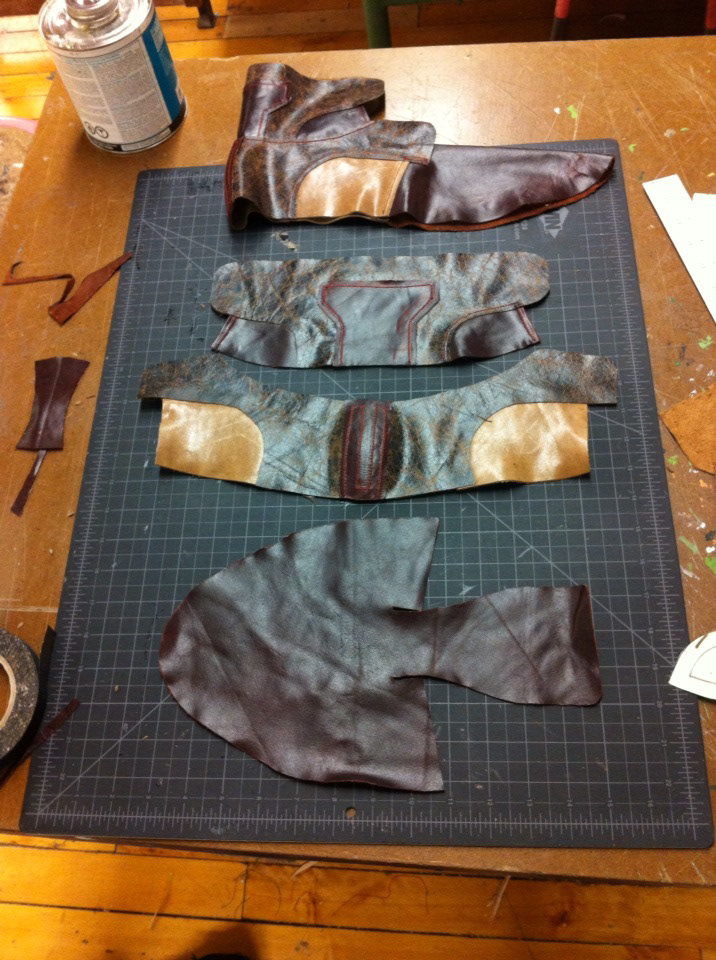
These are the pieces of my upper. One is already fnished, the other is half way sewn.

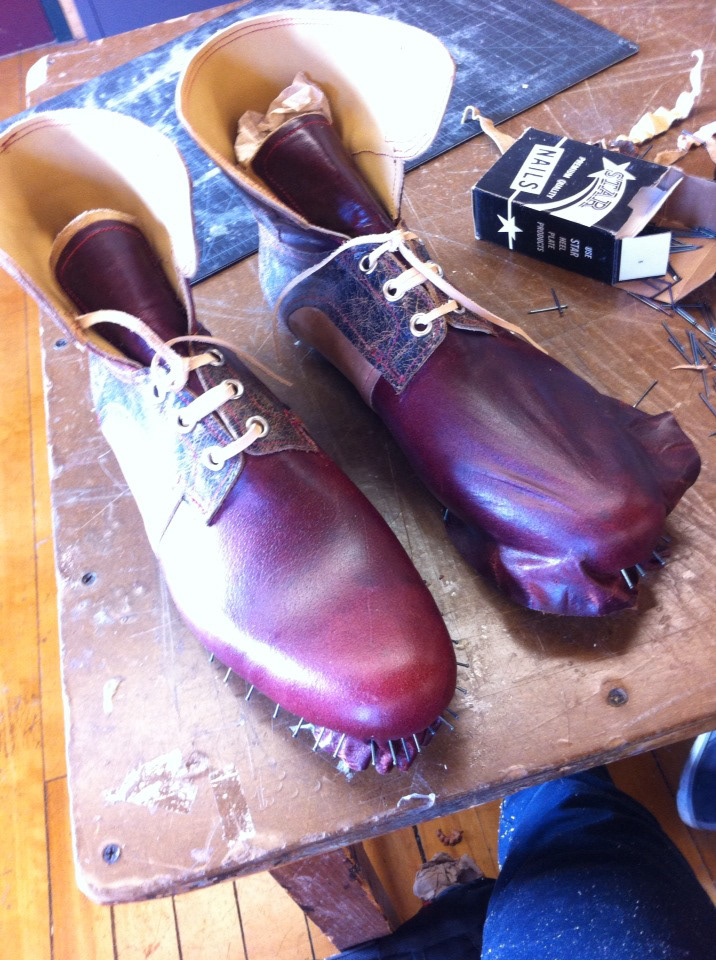
When both uppers are finished, it's time to do the lining.

After sewing in the lining, you're ready to do the lasting. The beginning is crutial because you have to make sure that the upper is not off-centered from the last. I also tied the eyelets together so that they would stay aligned while lasting.
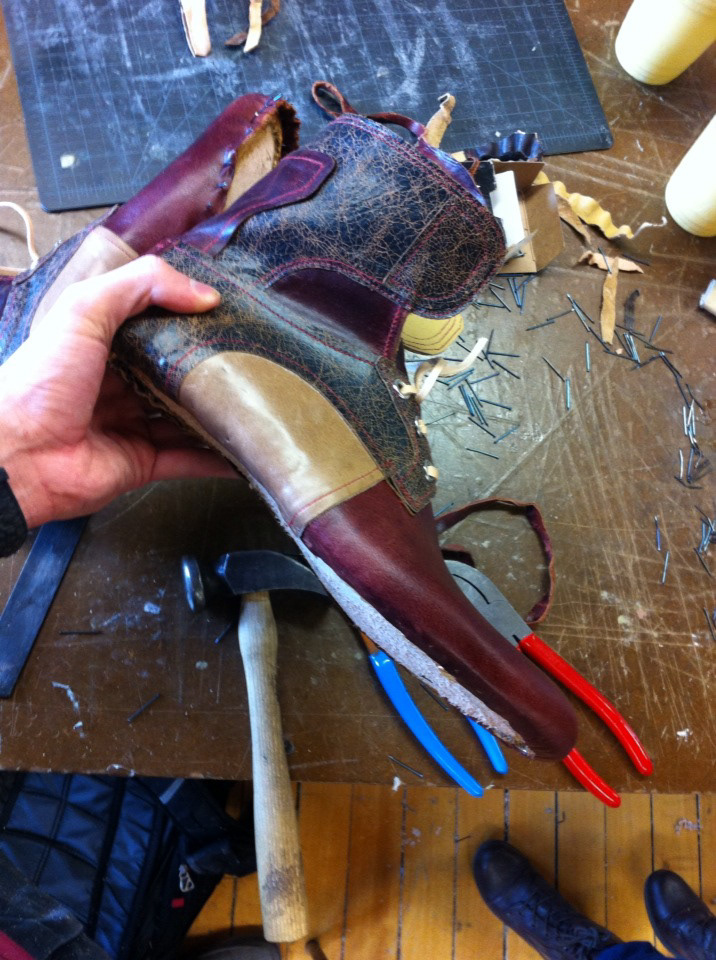
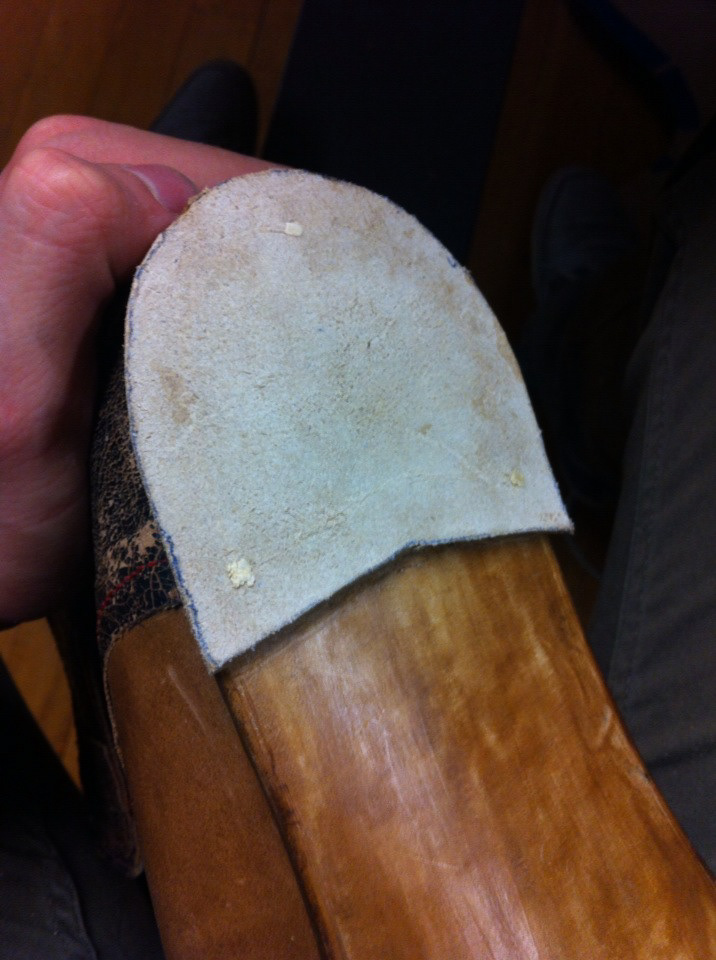
After this, the toe box and the counter are pasted between the lining and the upper.
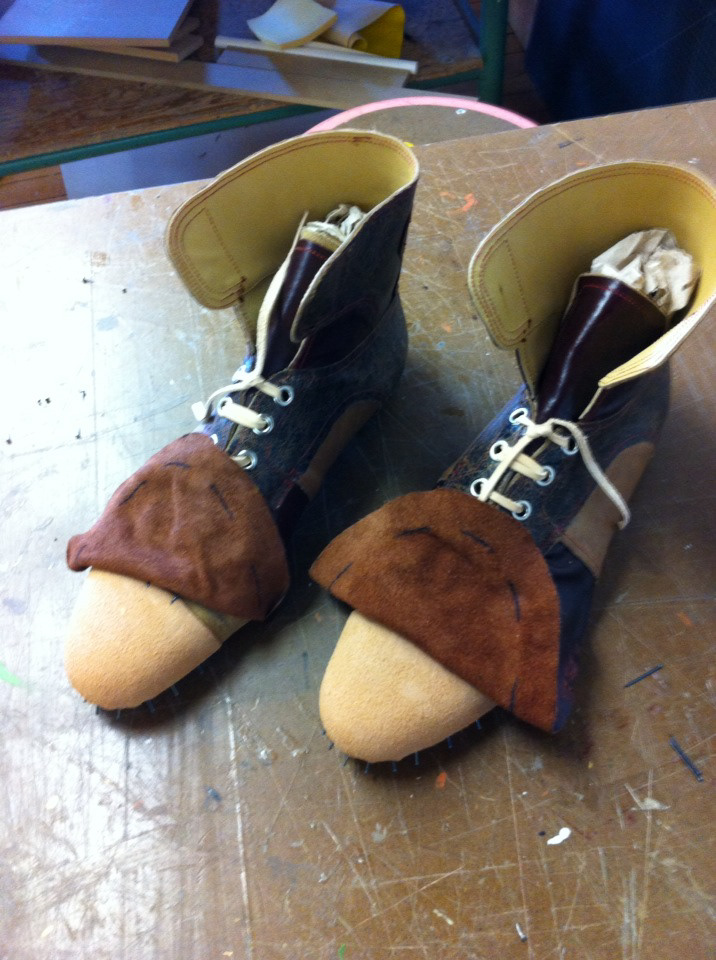
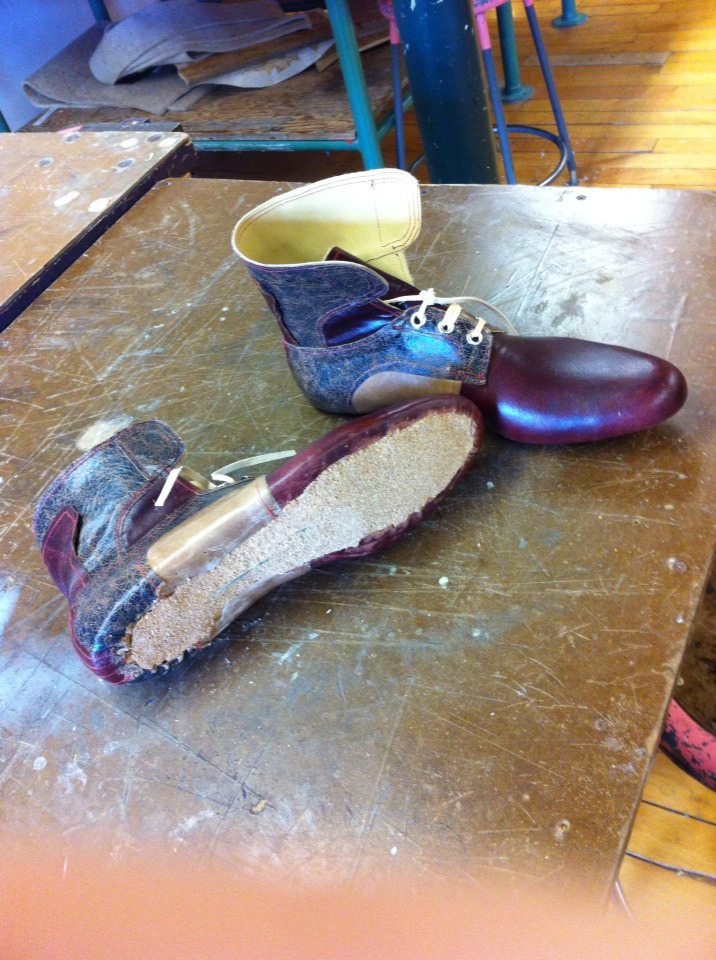
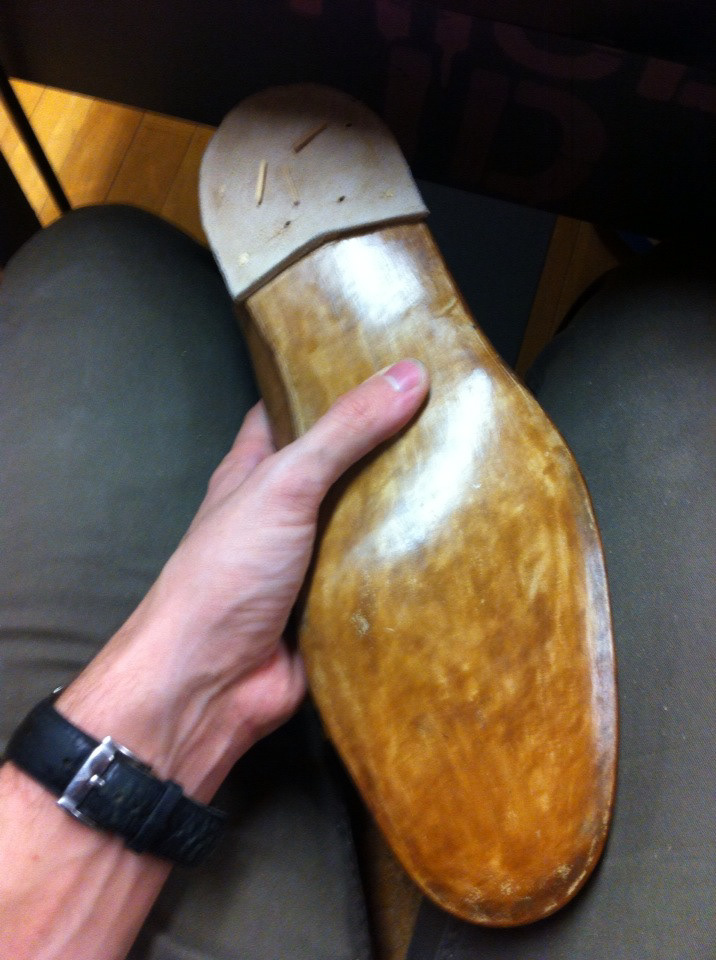
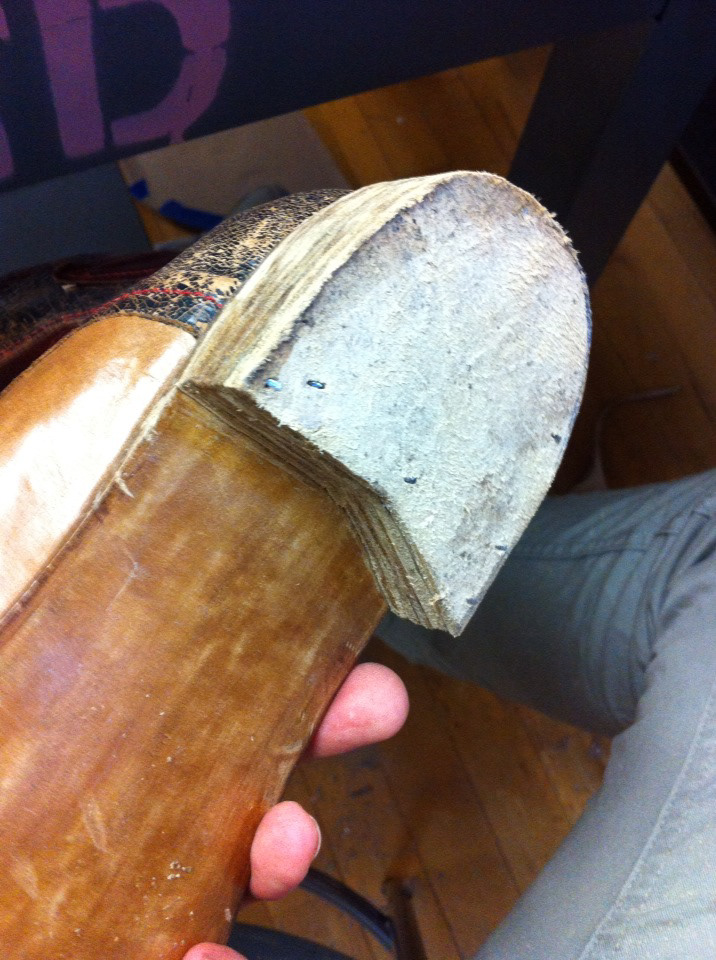
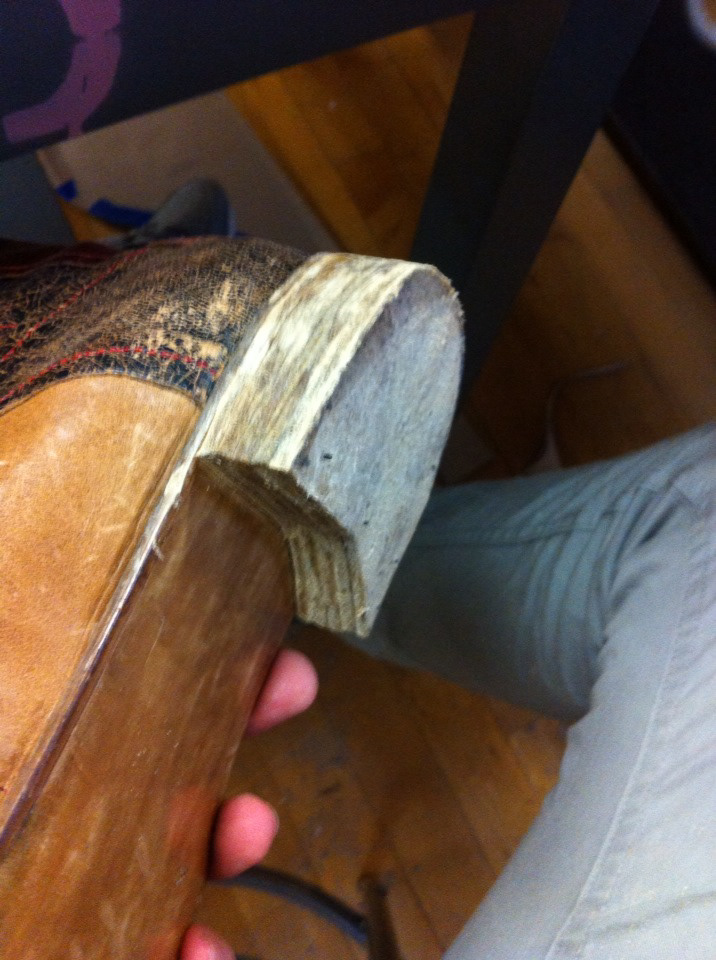
Once that's done, the final lasting of the upper is done, glued, and trimmed.
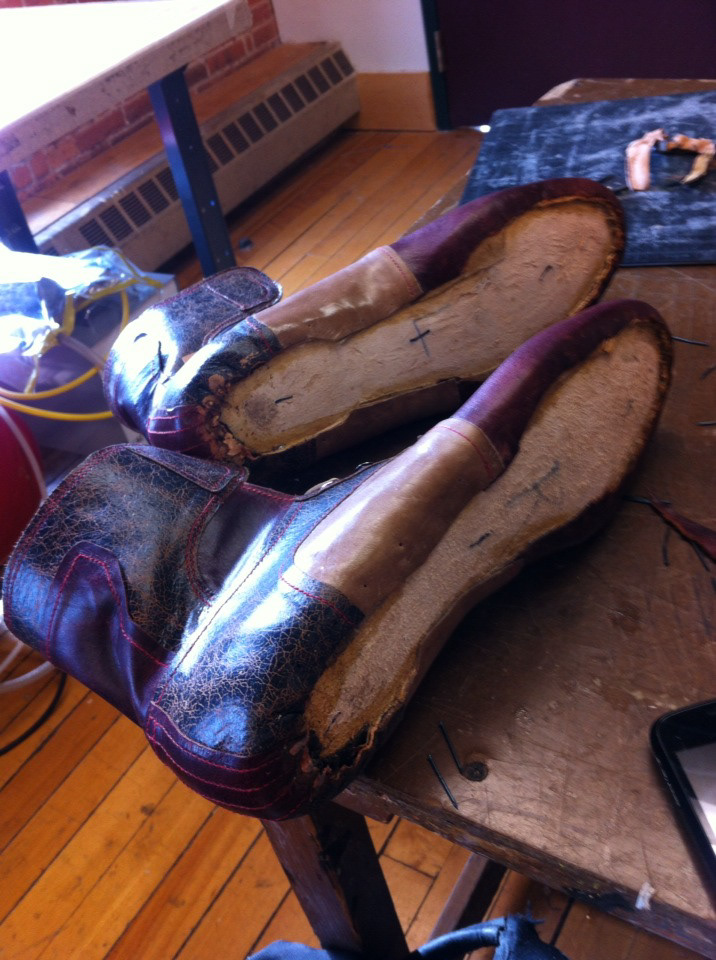
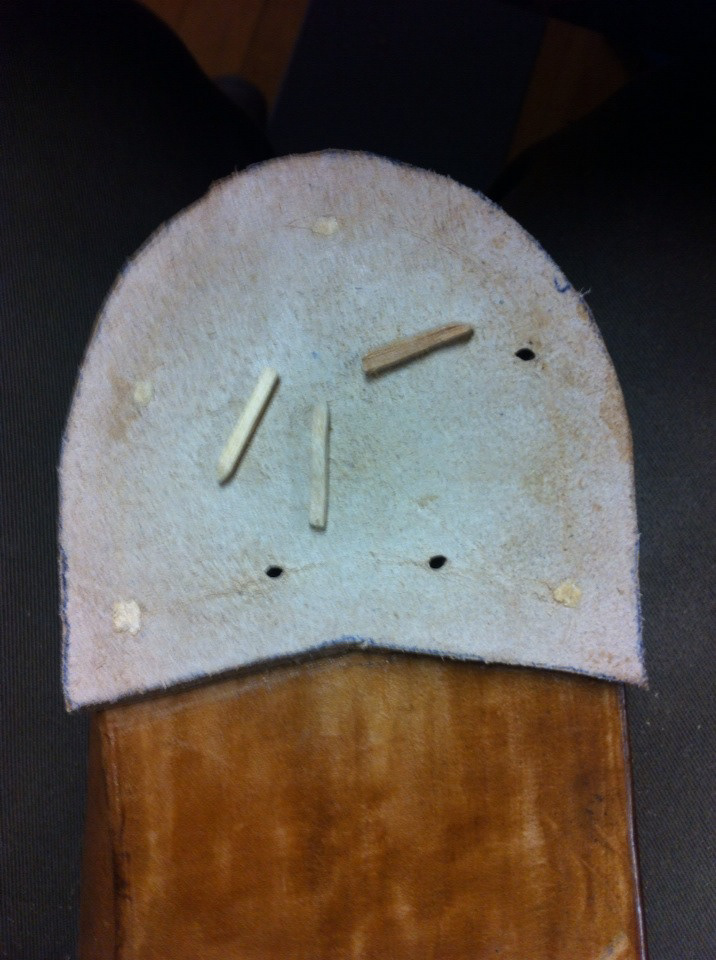
After ALL the nails are pulled out, the shank is glued on and then the whole bottom is covered with a piece of leather or cork. I chose cork because it's very easy to sand away.
Petronio's glue is a very important tool for shoe making. (not the best glue though)

Applying the petronio's to the outer sole.
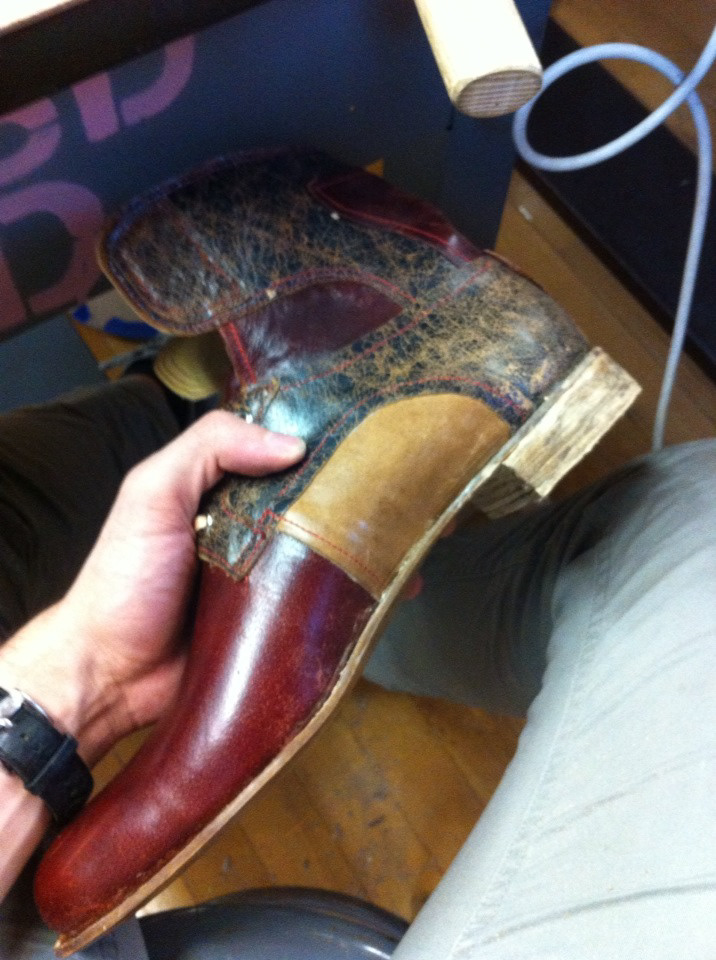
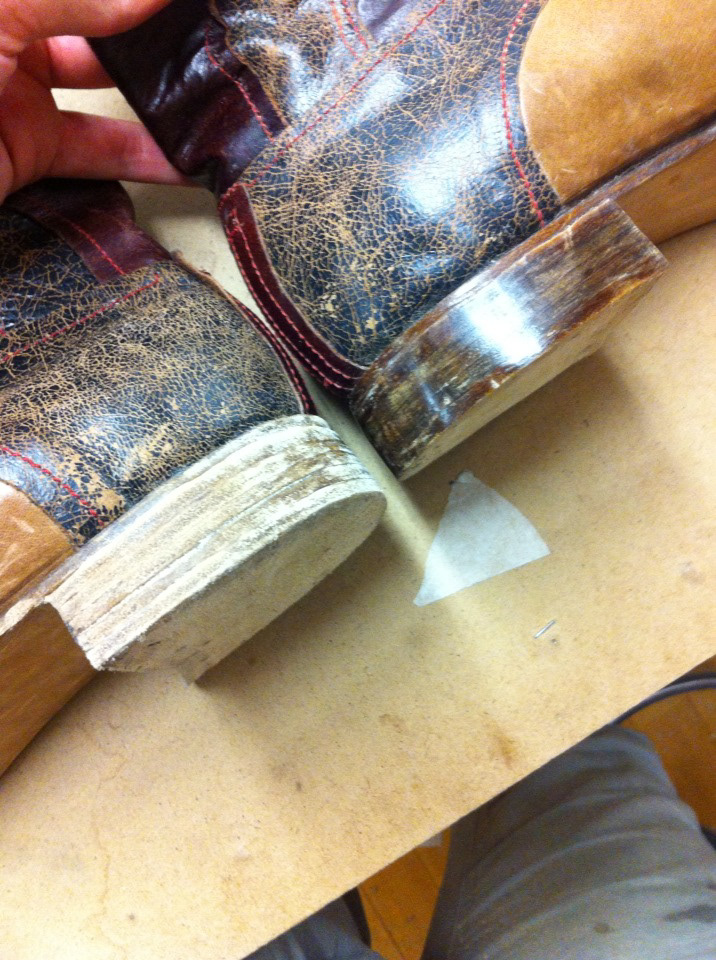
After gluing and burnishing the sole, it's time to make the stacked leather heels.
This is done by gluing them with water-based paste and then piercing the pieces with an awl to make holes for the wooden pecks.
This is done for each layer of the heel.
I had to use nails at the end because I broke two awls :B
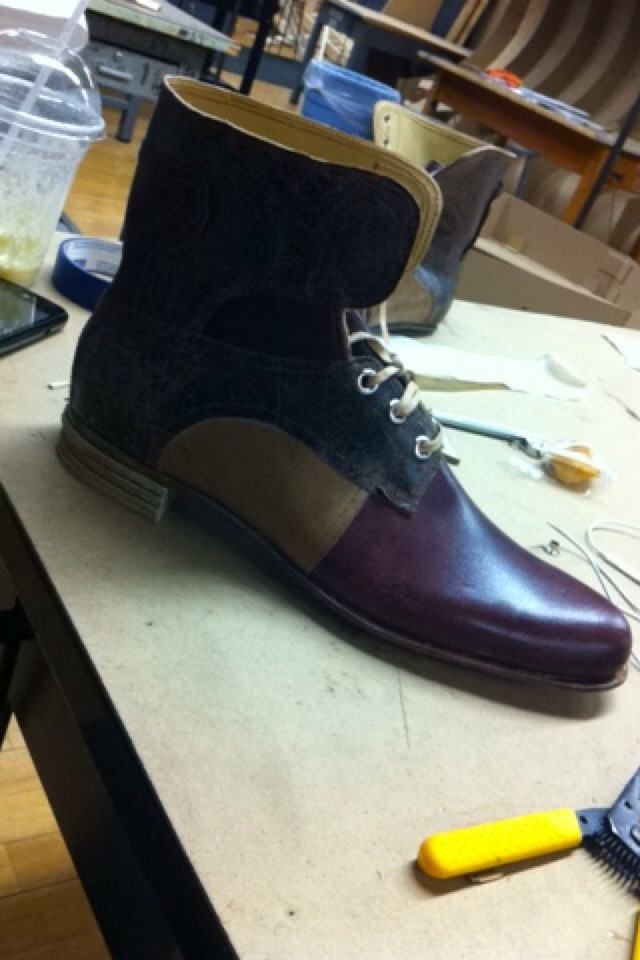
After the heels is done, the final finishing follows.

Brushing the heel with water makes it easier to trim and work with. After the trimming is done, you use a piece of glass to sand away the heel and make all the layers flushed with each other. Then sand it with fine sand paper or a sanding block to get it nice and smooth.

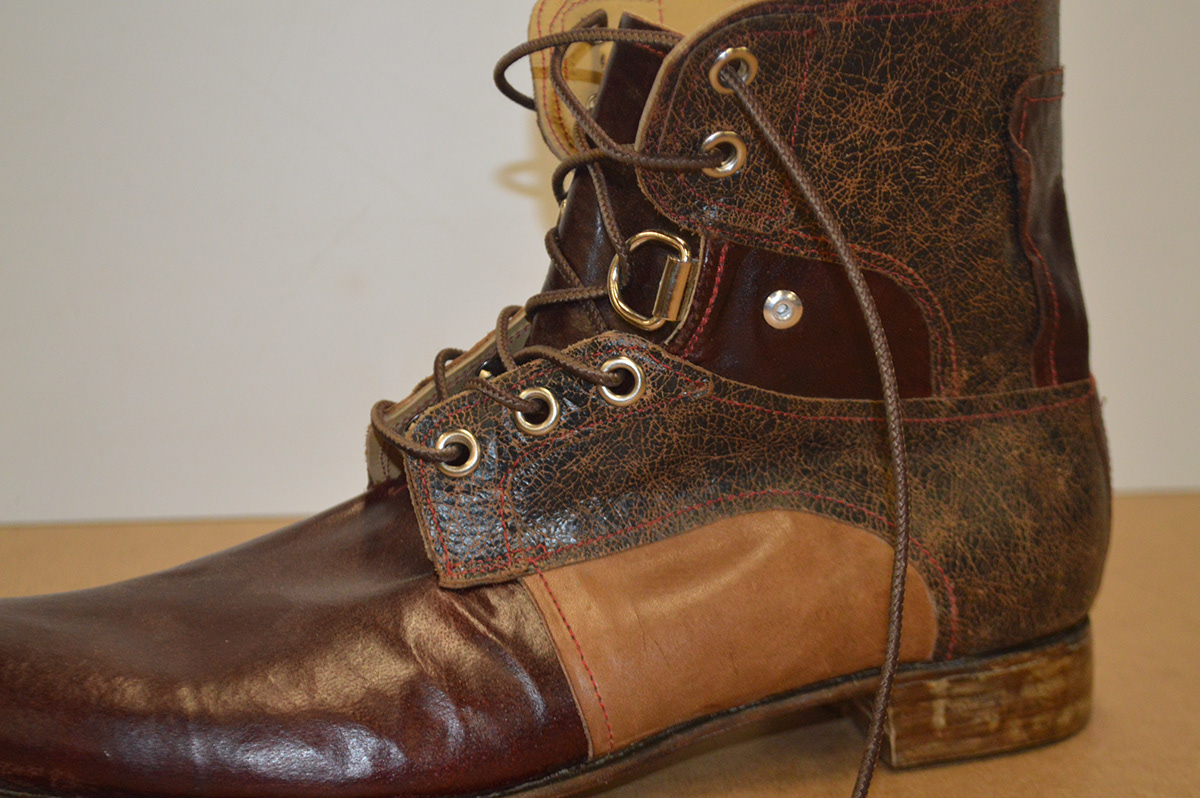
After tha sanding is done, a burnishing iron and leather polish is used to give the final finishing.
Here is a good picture to show the difference between before and after the burnishing is done.
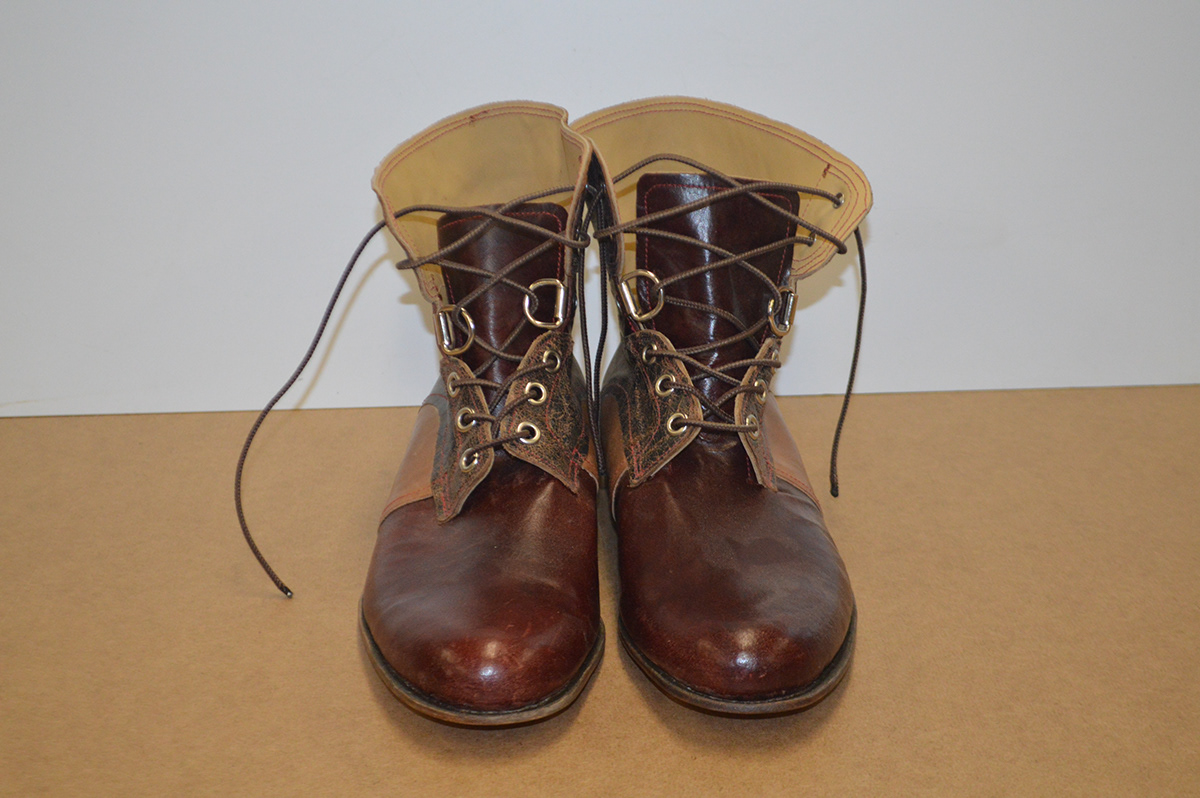
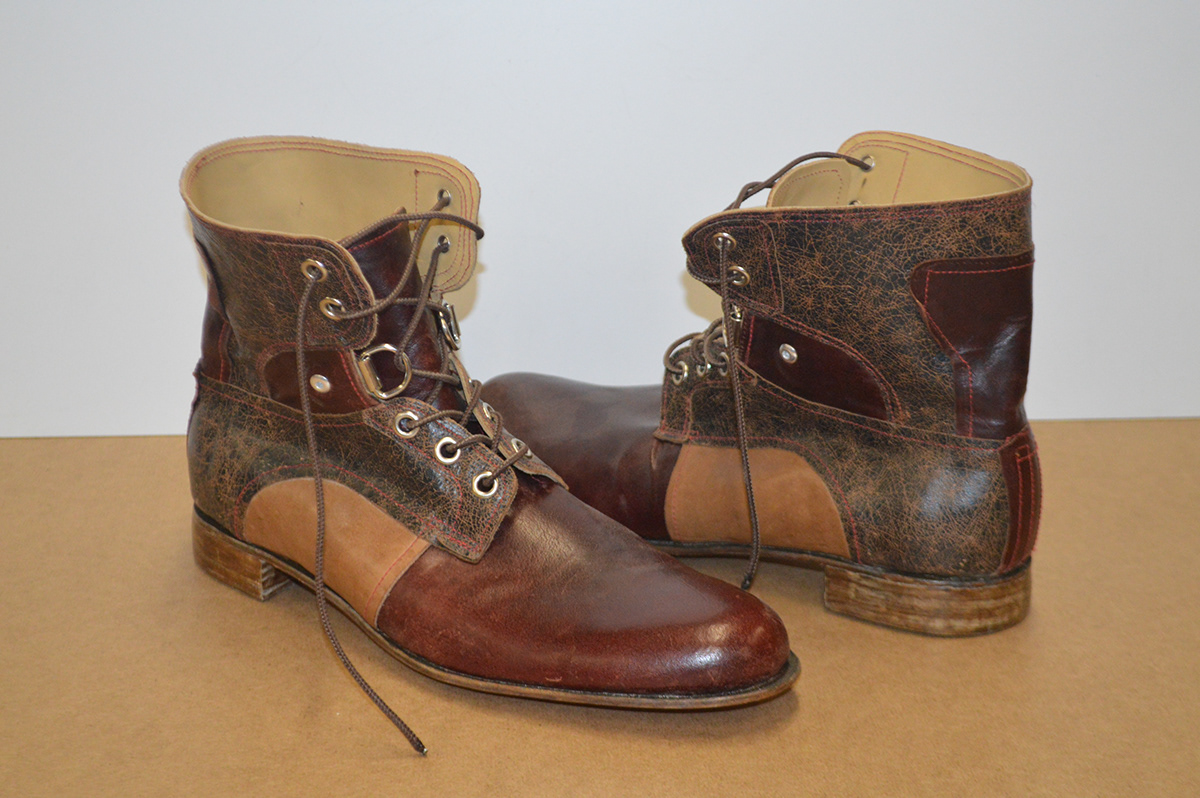
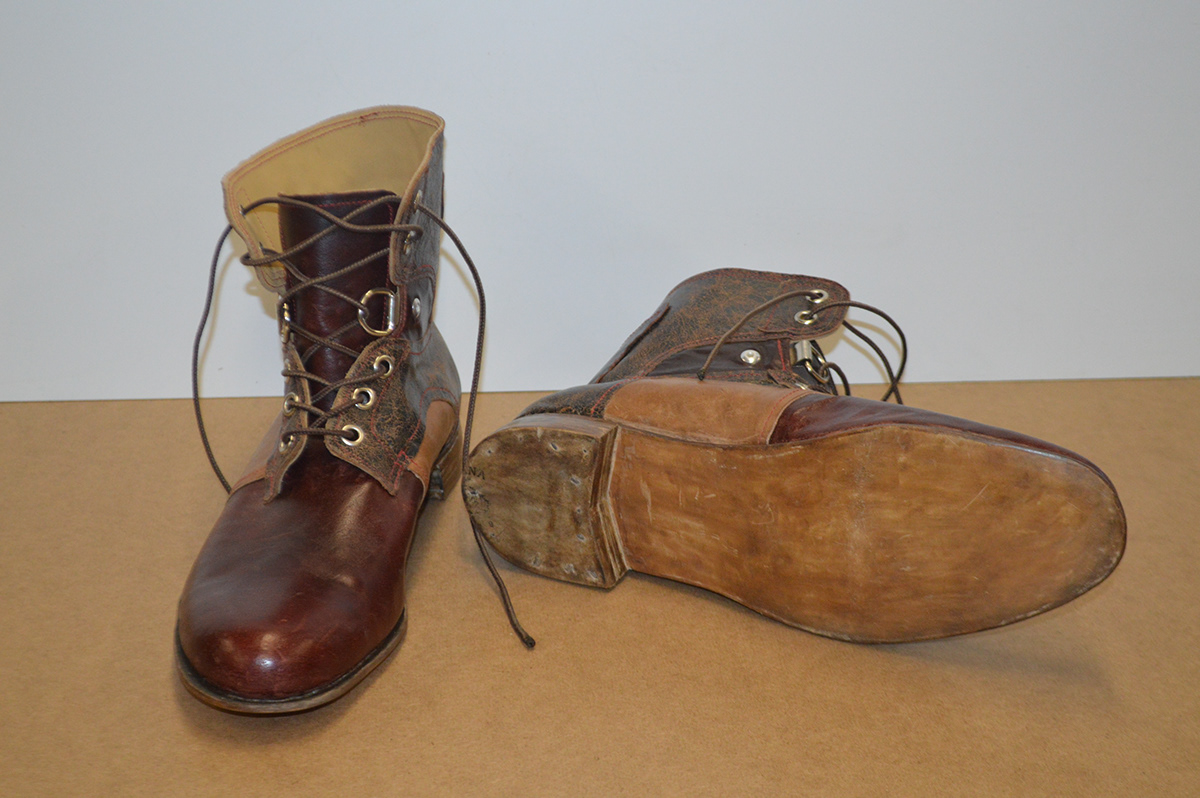
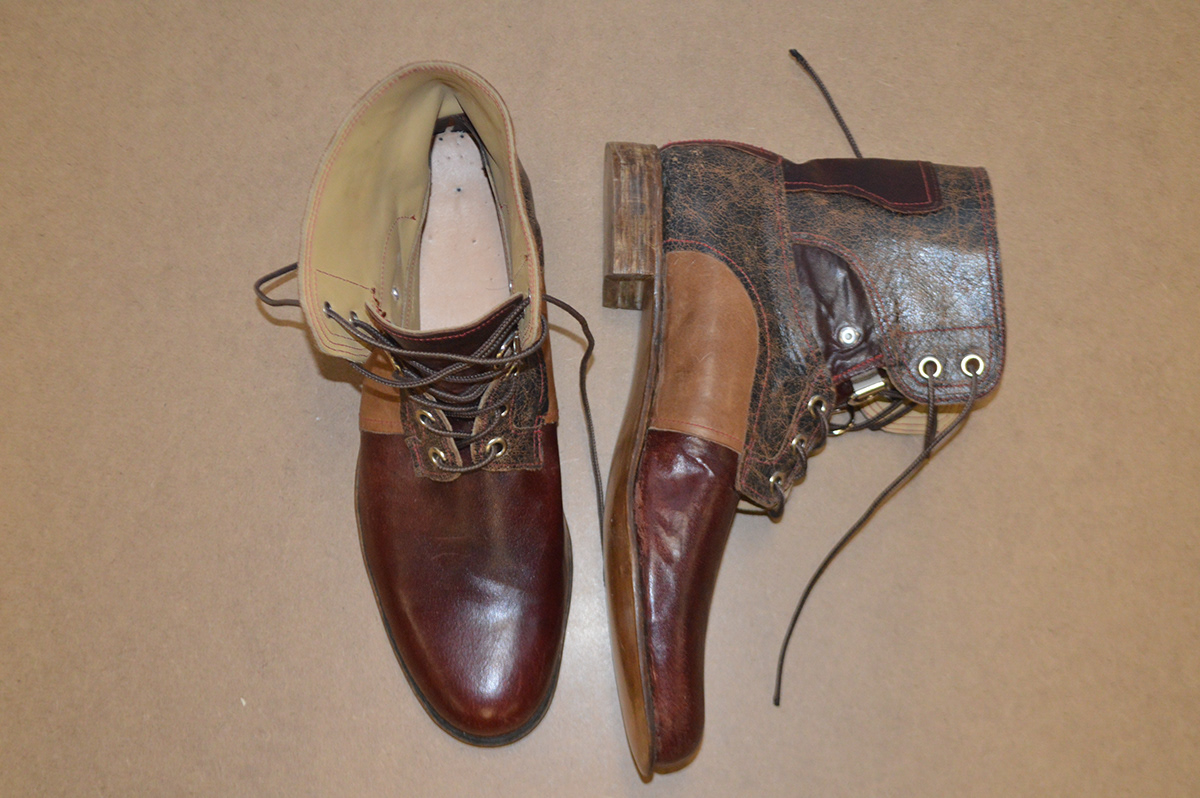
Once all that's done, you're ready to put the laces on!
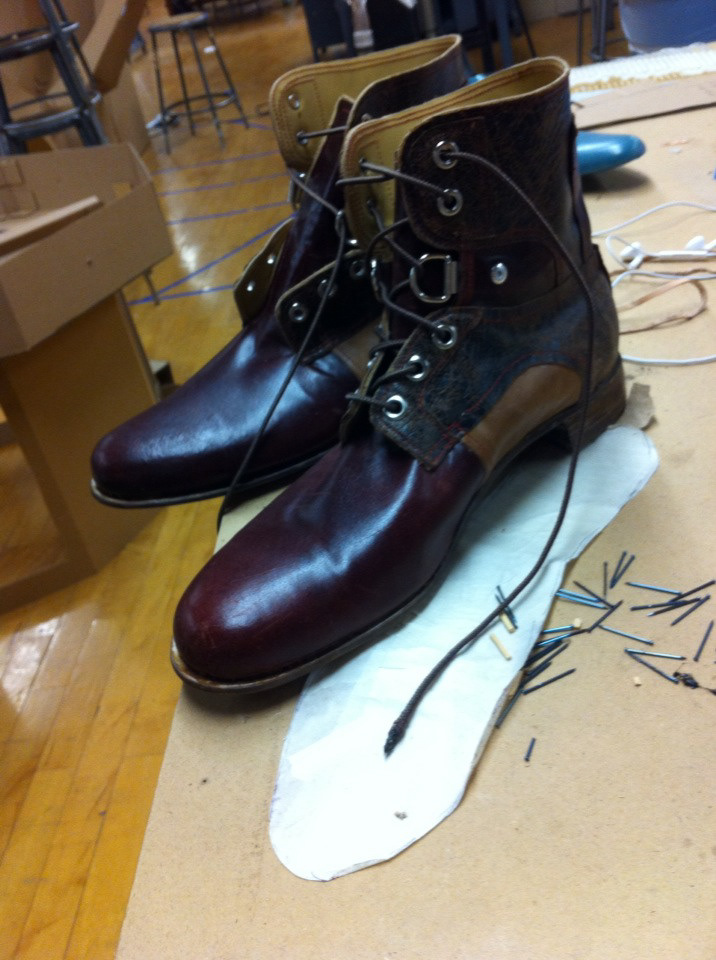
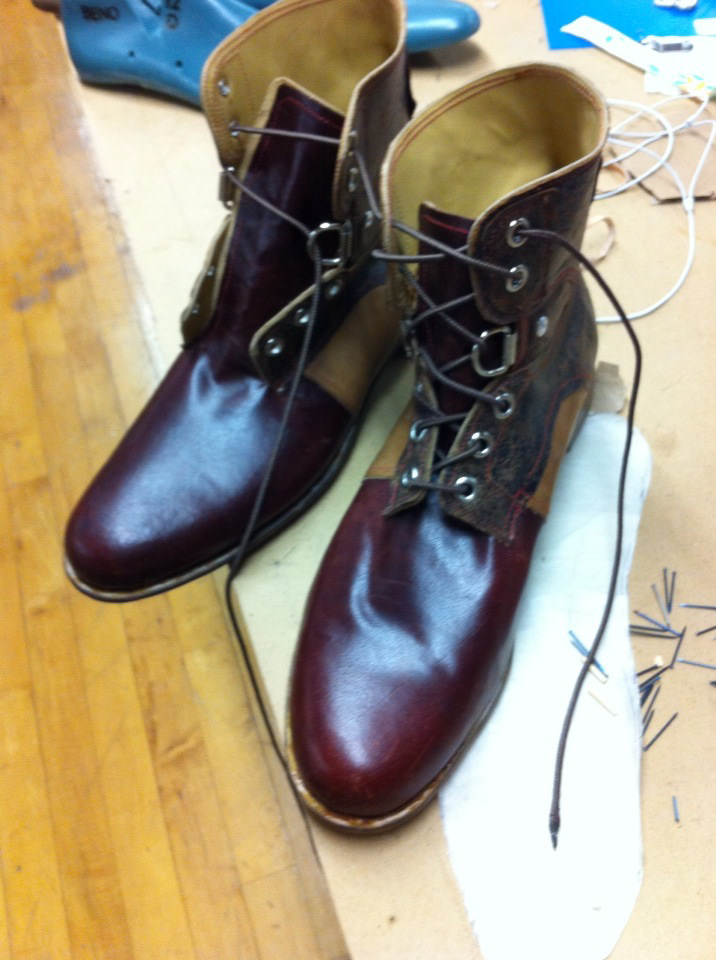
And viola! You've got new shoes!